# smartctl -a /dev/sdb
smartctl 7.1 2019-12-30 r5022 [x86_64-linux-5.14.0-1008-oem] (local build)
Copyright (C) 2002-19, Bruce Allen, Christian Franke, www.smartmontools.org

/dev/sdb: Unknown USB bridge [0x0781:0x558c (0x1012)]
You can try passing the -d sat parameter like this:
# smartctl -d sat -a /dev/sdb
smartctl 7.1 2019-12-30 r5022 [x86_64-linux-5.14.0-1008-oem] (local build)
Copyright (C) 2002-19, Bruce Allen, Christian Franke, www.smartmontools.org

=== START OF INFORMATION SECTION ===
Device Model:     SanDisk SD9SN8W1T00
…
Don’t forget to check out the manpages for smartctl. It has a comprehensive list of options to pass.

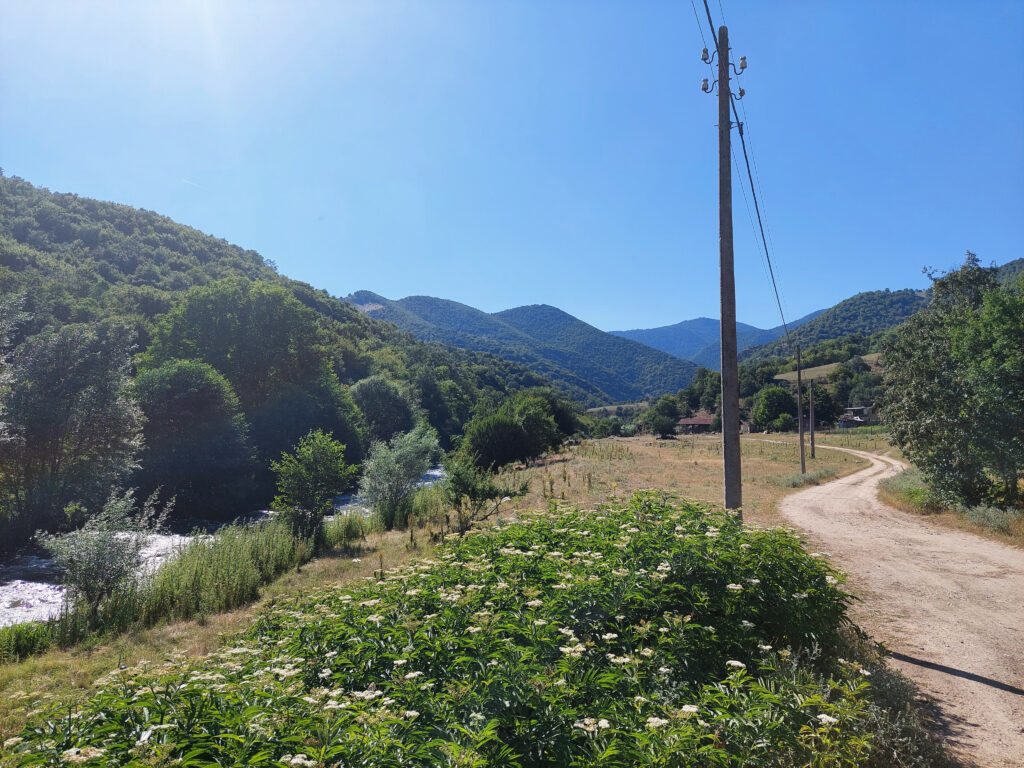
Planning is key
The plan to go to Dolene came quite spontaneously. The weather forecast was promising for the next day and I wanted to combine a longer hike with an extensive train ride. The trains in Bulgaria are often times old train cars from other countries such as Germany and hiking in the mountains is always super peaceful as there’s not a lot of people living outside the few cities and villages Bulgaria has.
First I wanted to go to Velingrad which is a nice city with a lot of hotels and spas. But it’s not really right in the mountains and it takes a while to get there. Luckily there’s a train station basically middle in the woods: Dolene. This allowed me to take the train right to the foot of the mountain and start hiking.

The night before I booked a first class / second class ticket from Podujane to Dolene. The booking process with БДЖ is quite easy: I chose from and to, the dates and paid by credit card.
The connection includes changing trains in Septemvri to the only narrow gauge train left in Bulgaria:

Having time from 13:27 to 18:12 is almost 5 hours. Theoretically that should be enough for that hike.
Let’s start the trip
My journey begins in Podujane, one of the many train stations in Sofia.


Unfortunately, due to the massive amount of construction sides within the Bulgarian railway network we accumulated a delay of around half an hour which made me almost miss the narrow gauge train. If I missed that I would have waited for a few hours or go back home instead.
Trains don’t go that often in Bulgaria and connections are also not really symmetrical. Going to Dolene included a transfer of 12 minutes while going back included a transfer of almost an hour.
Arrived in Dolene
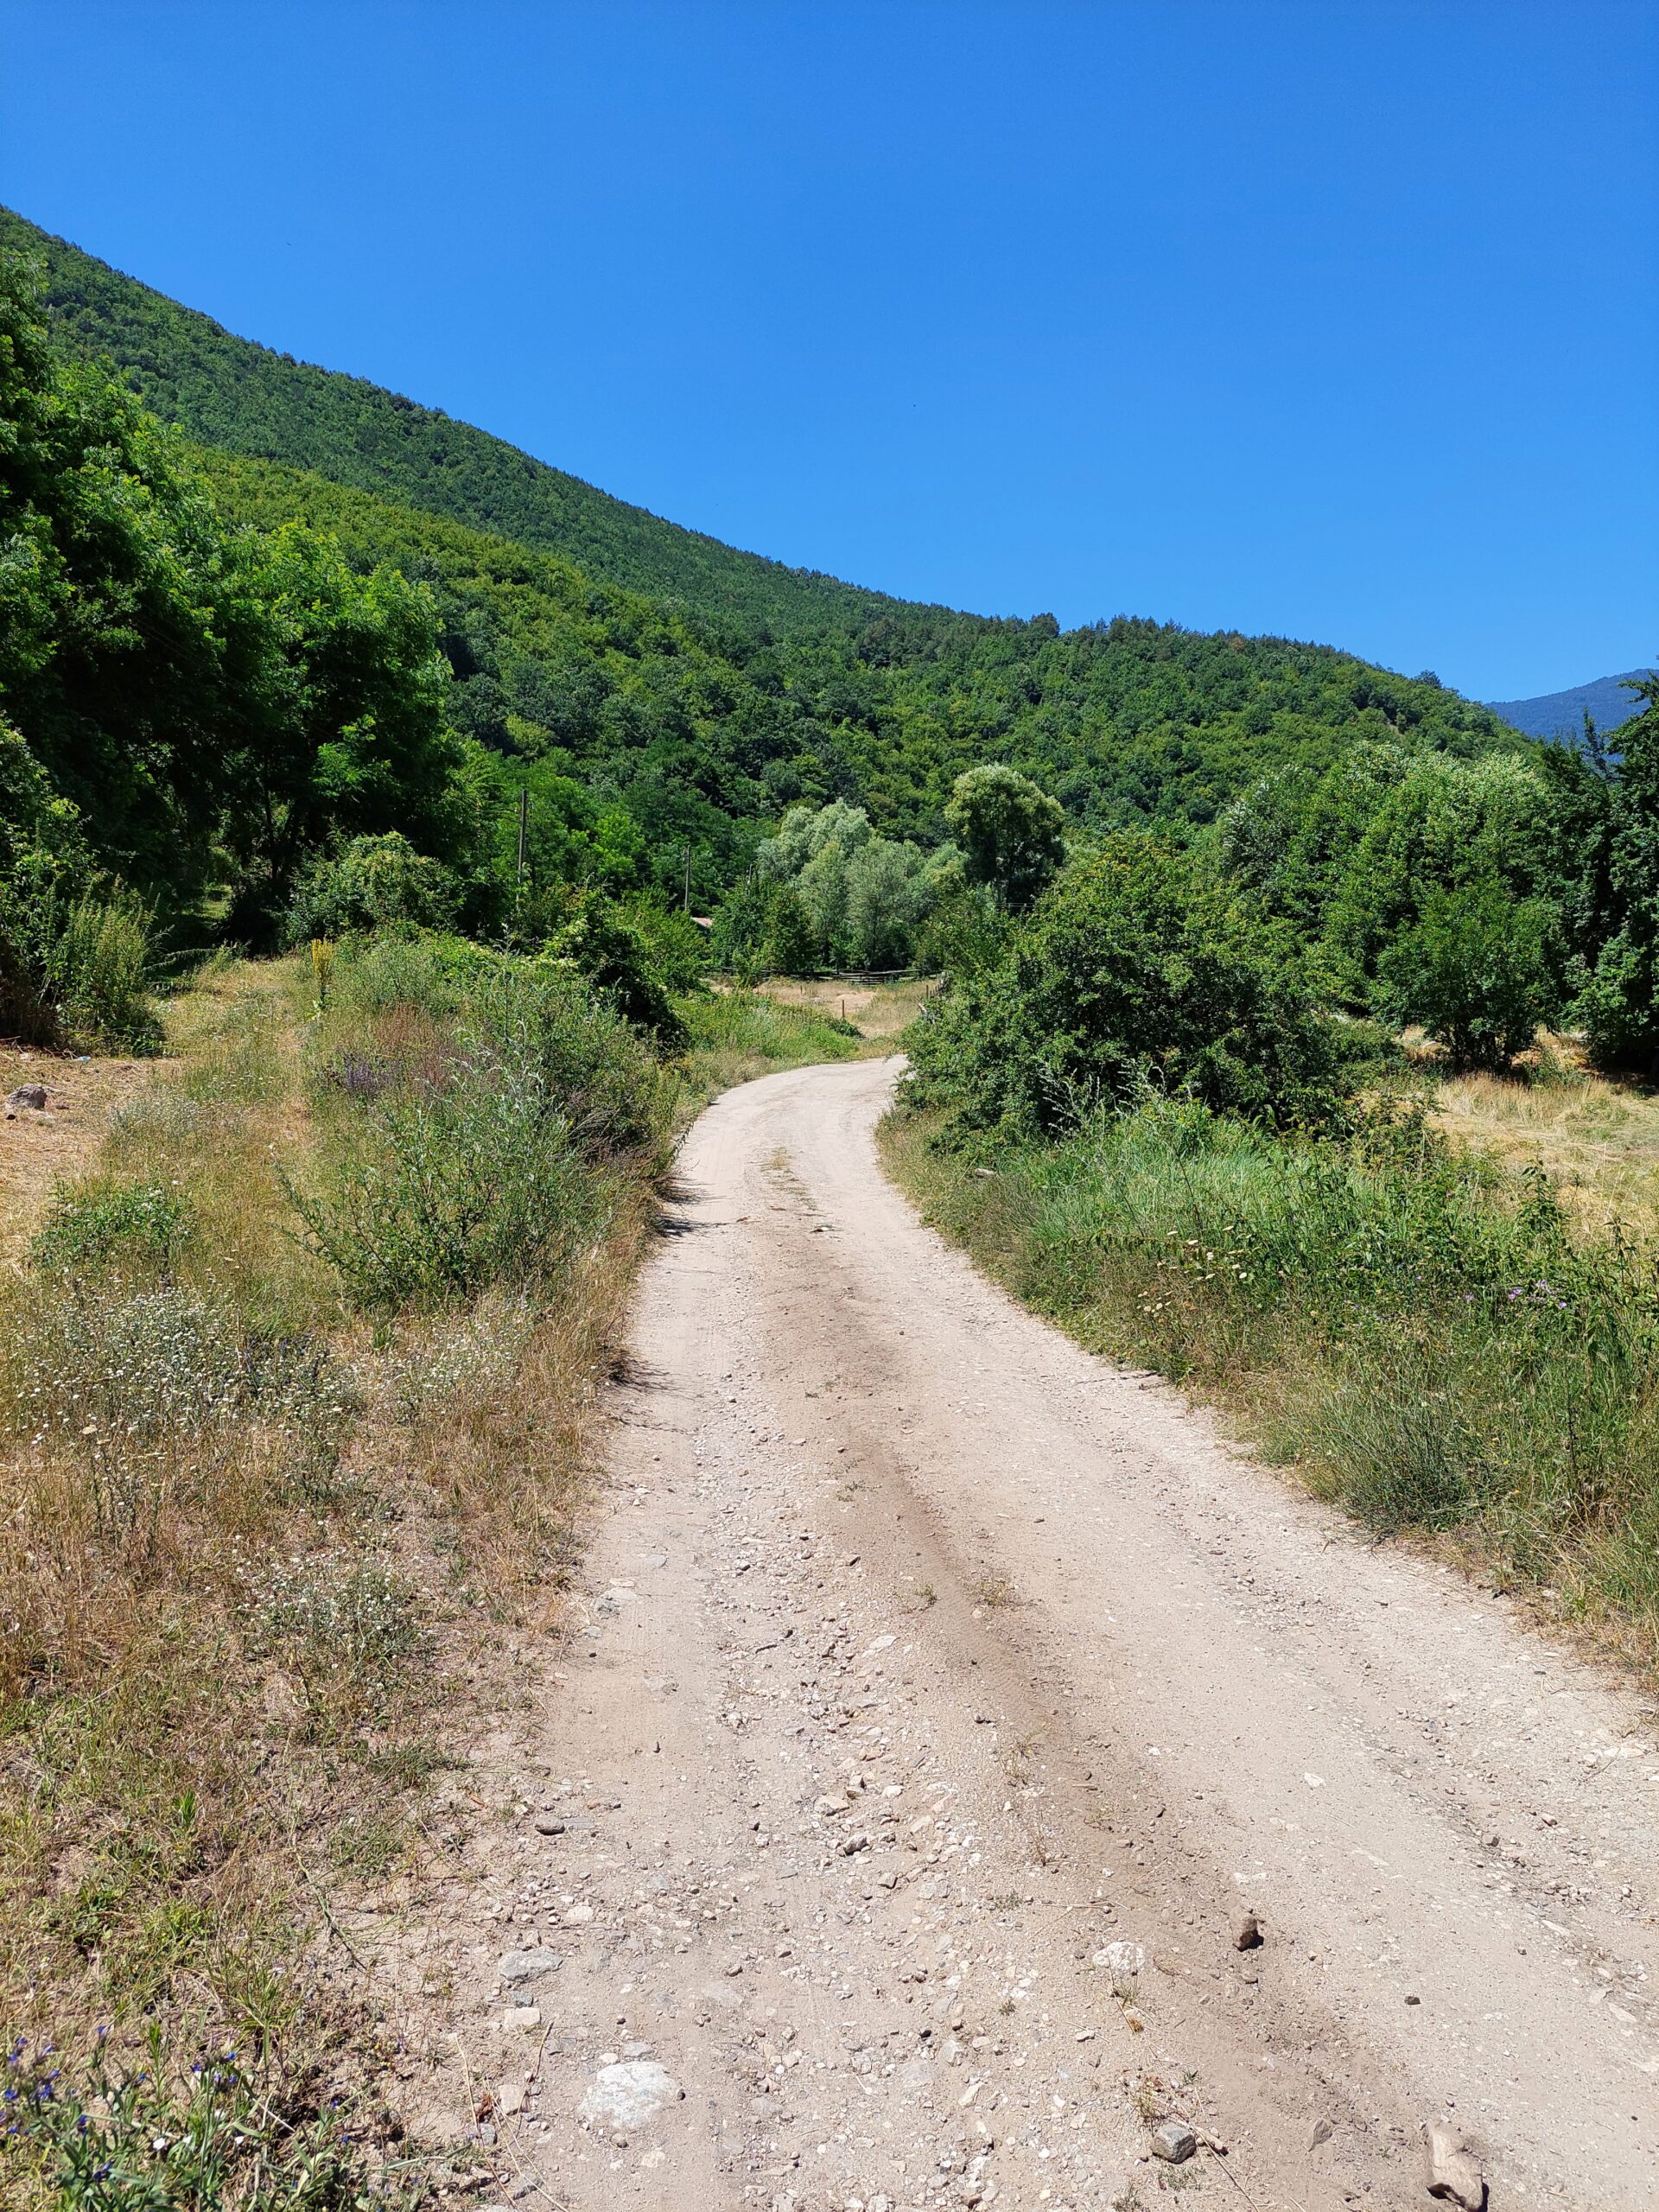
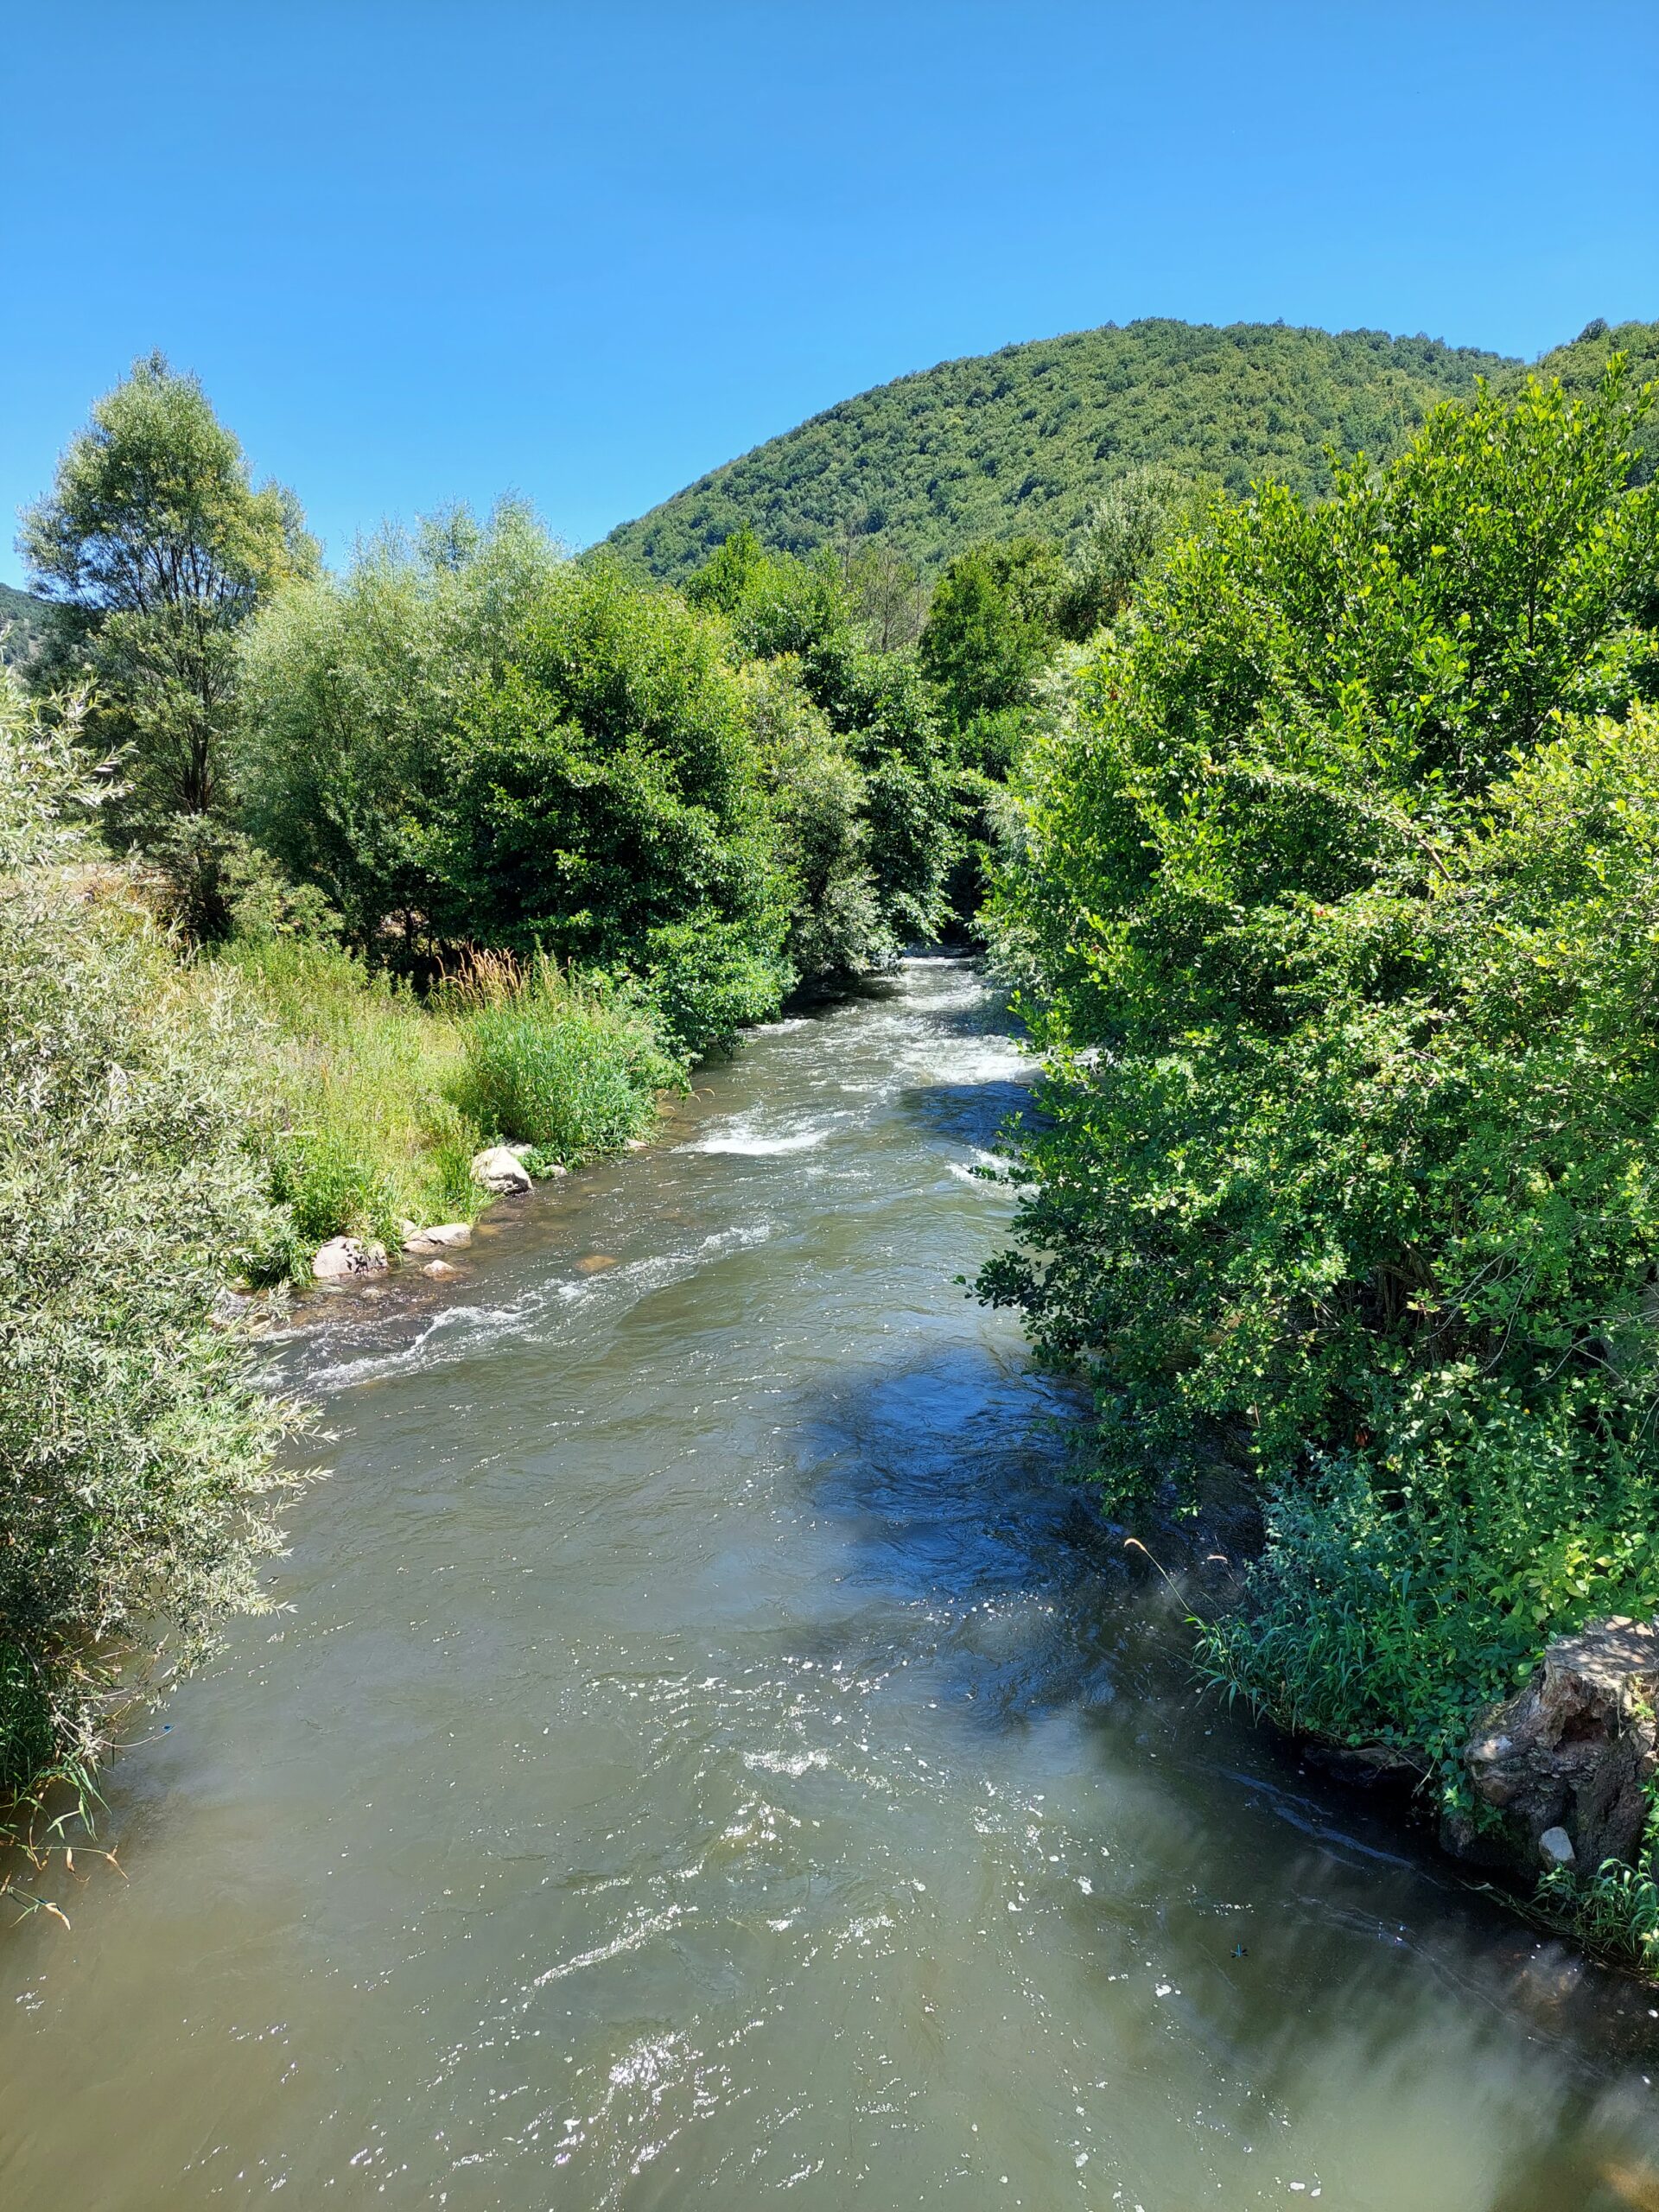
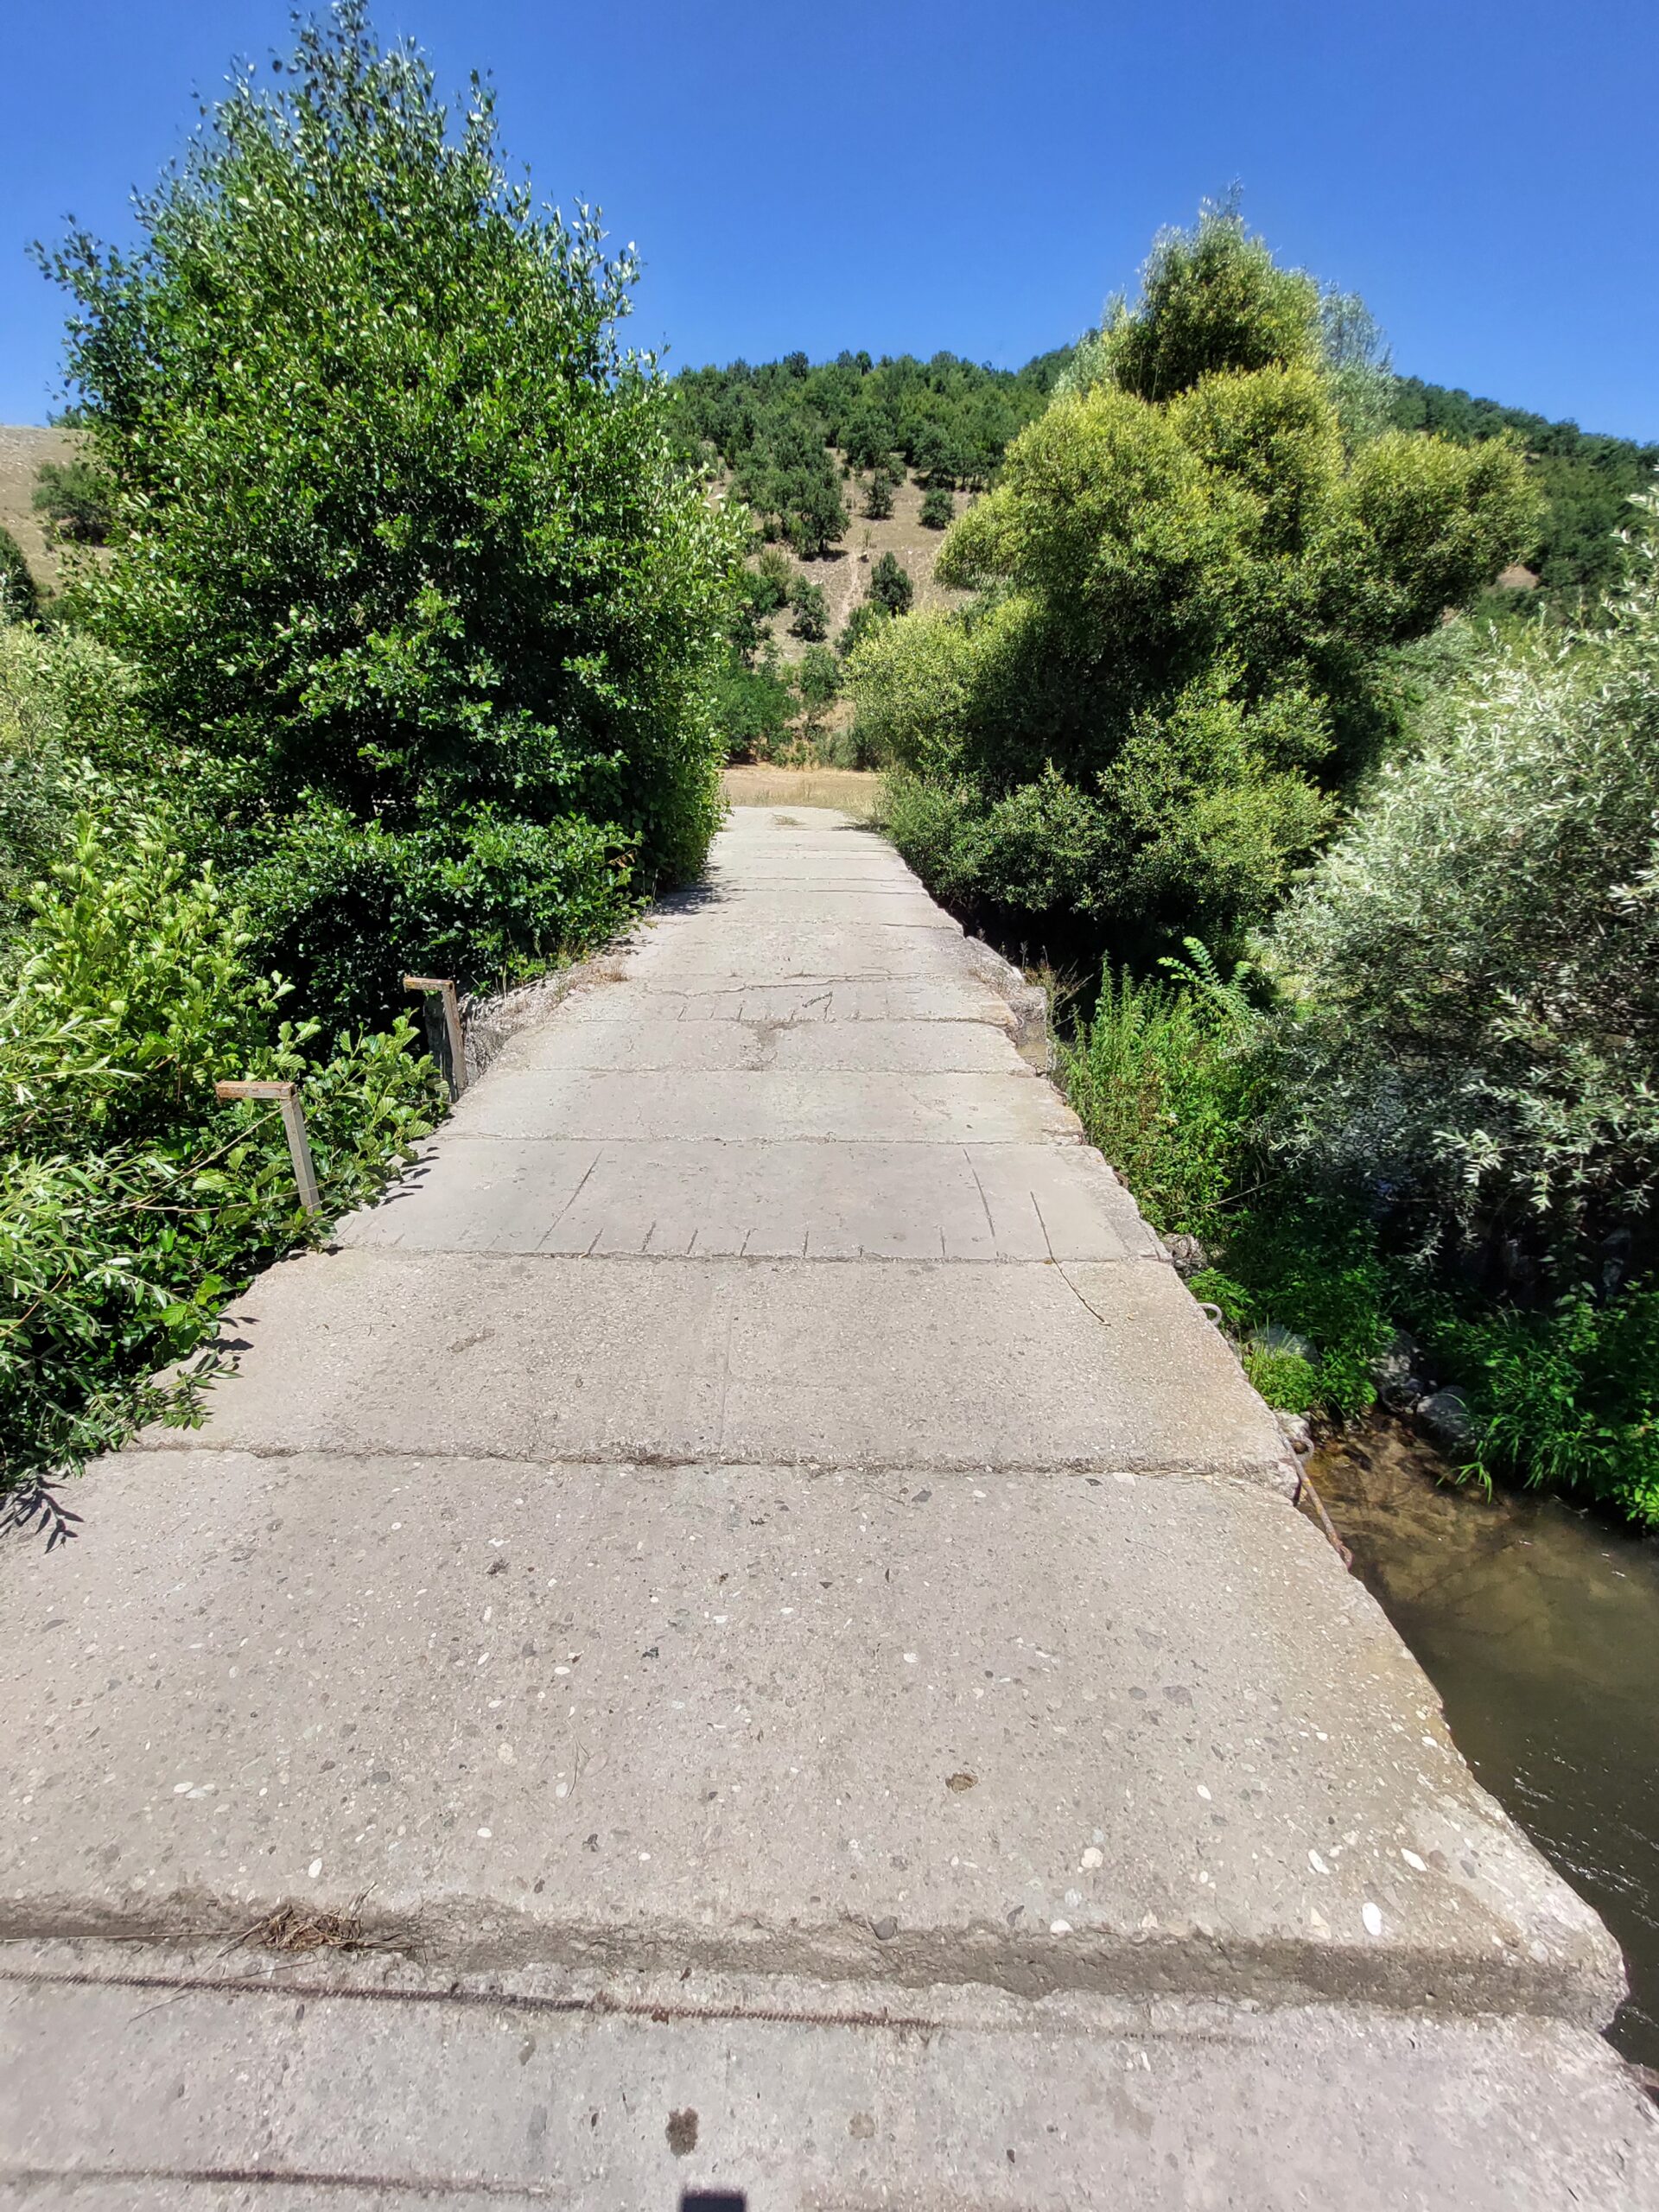
As soon as I got off the train in Dolene, I noticed that Dolene isn’t just small, it’s incredibly small. I only met one guy working at the train station and then I didn’t see anyone else for a long time.
Luckily, the hiking path is marked by these green and yellow stripes:
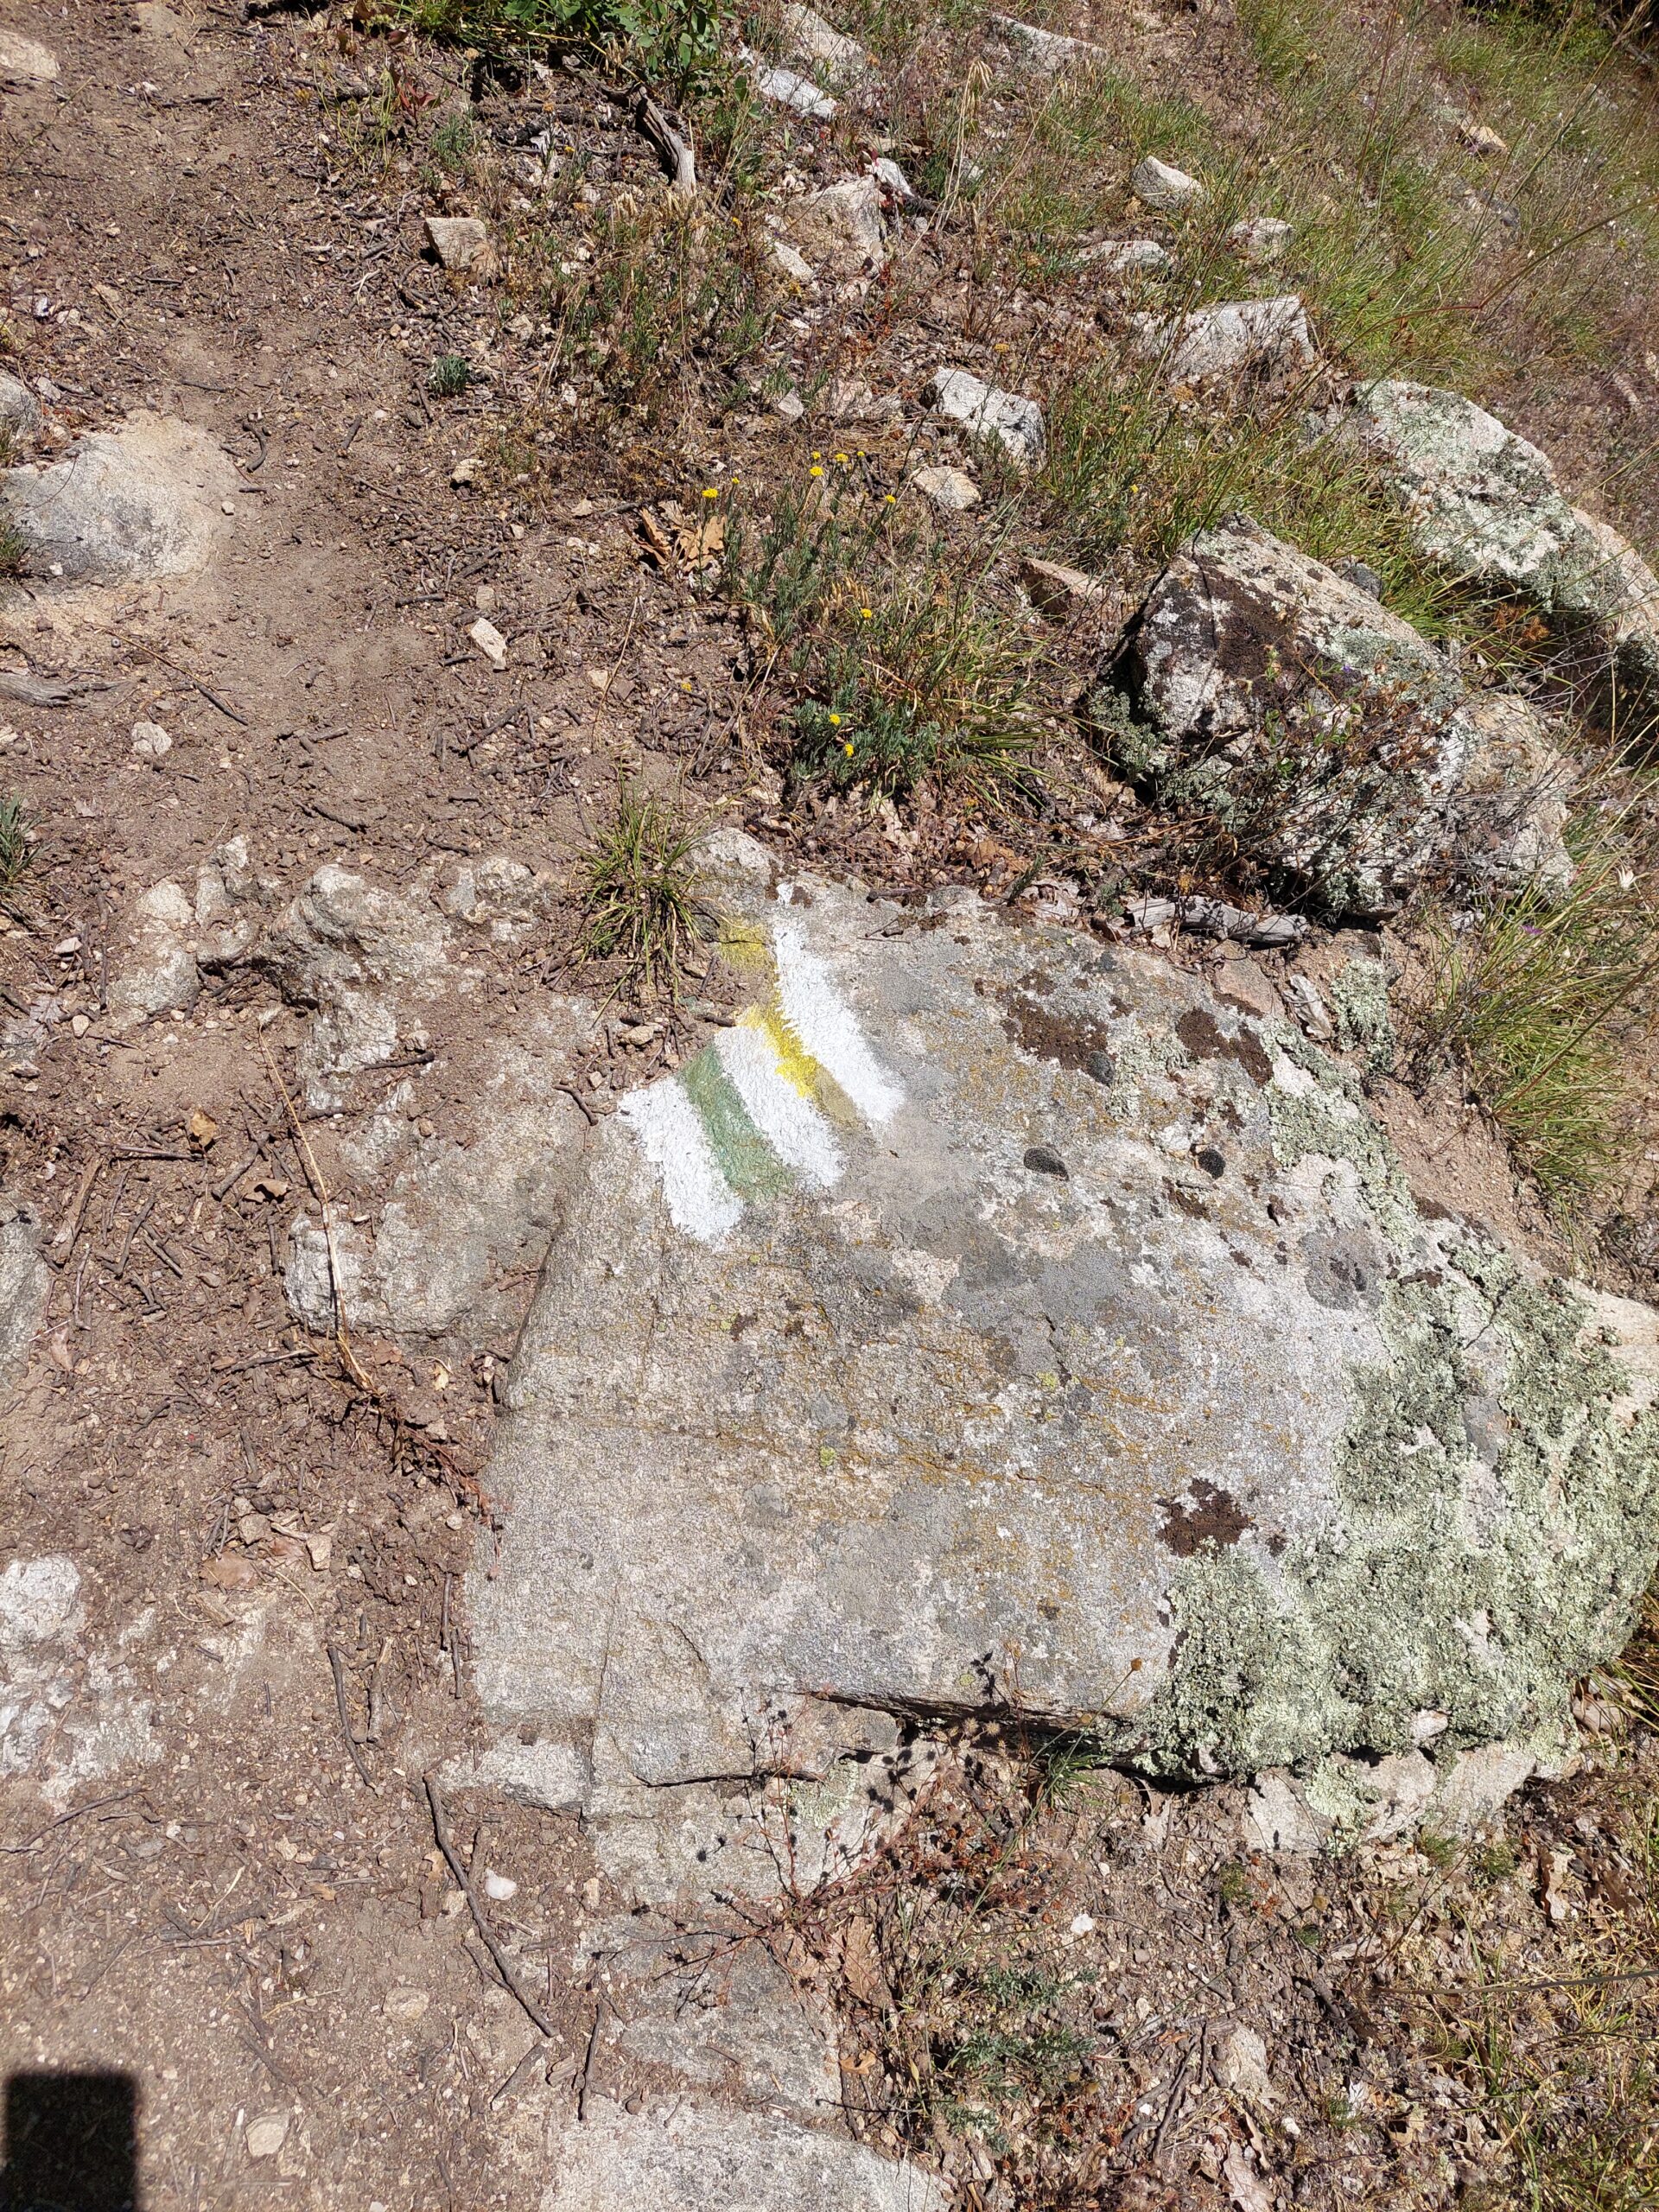
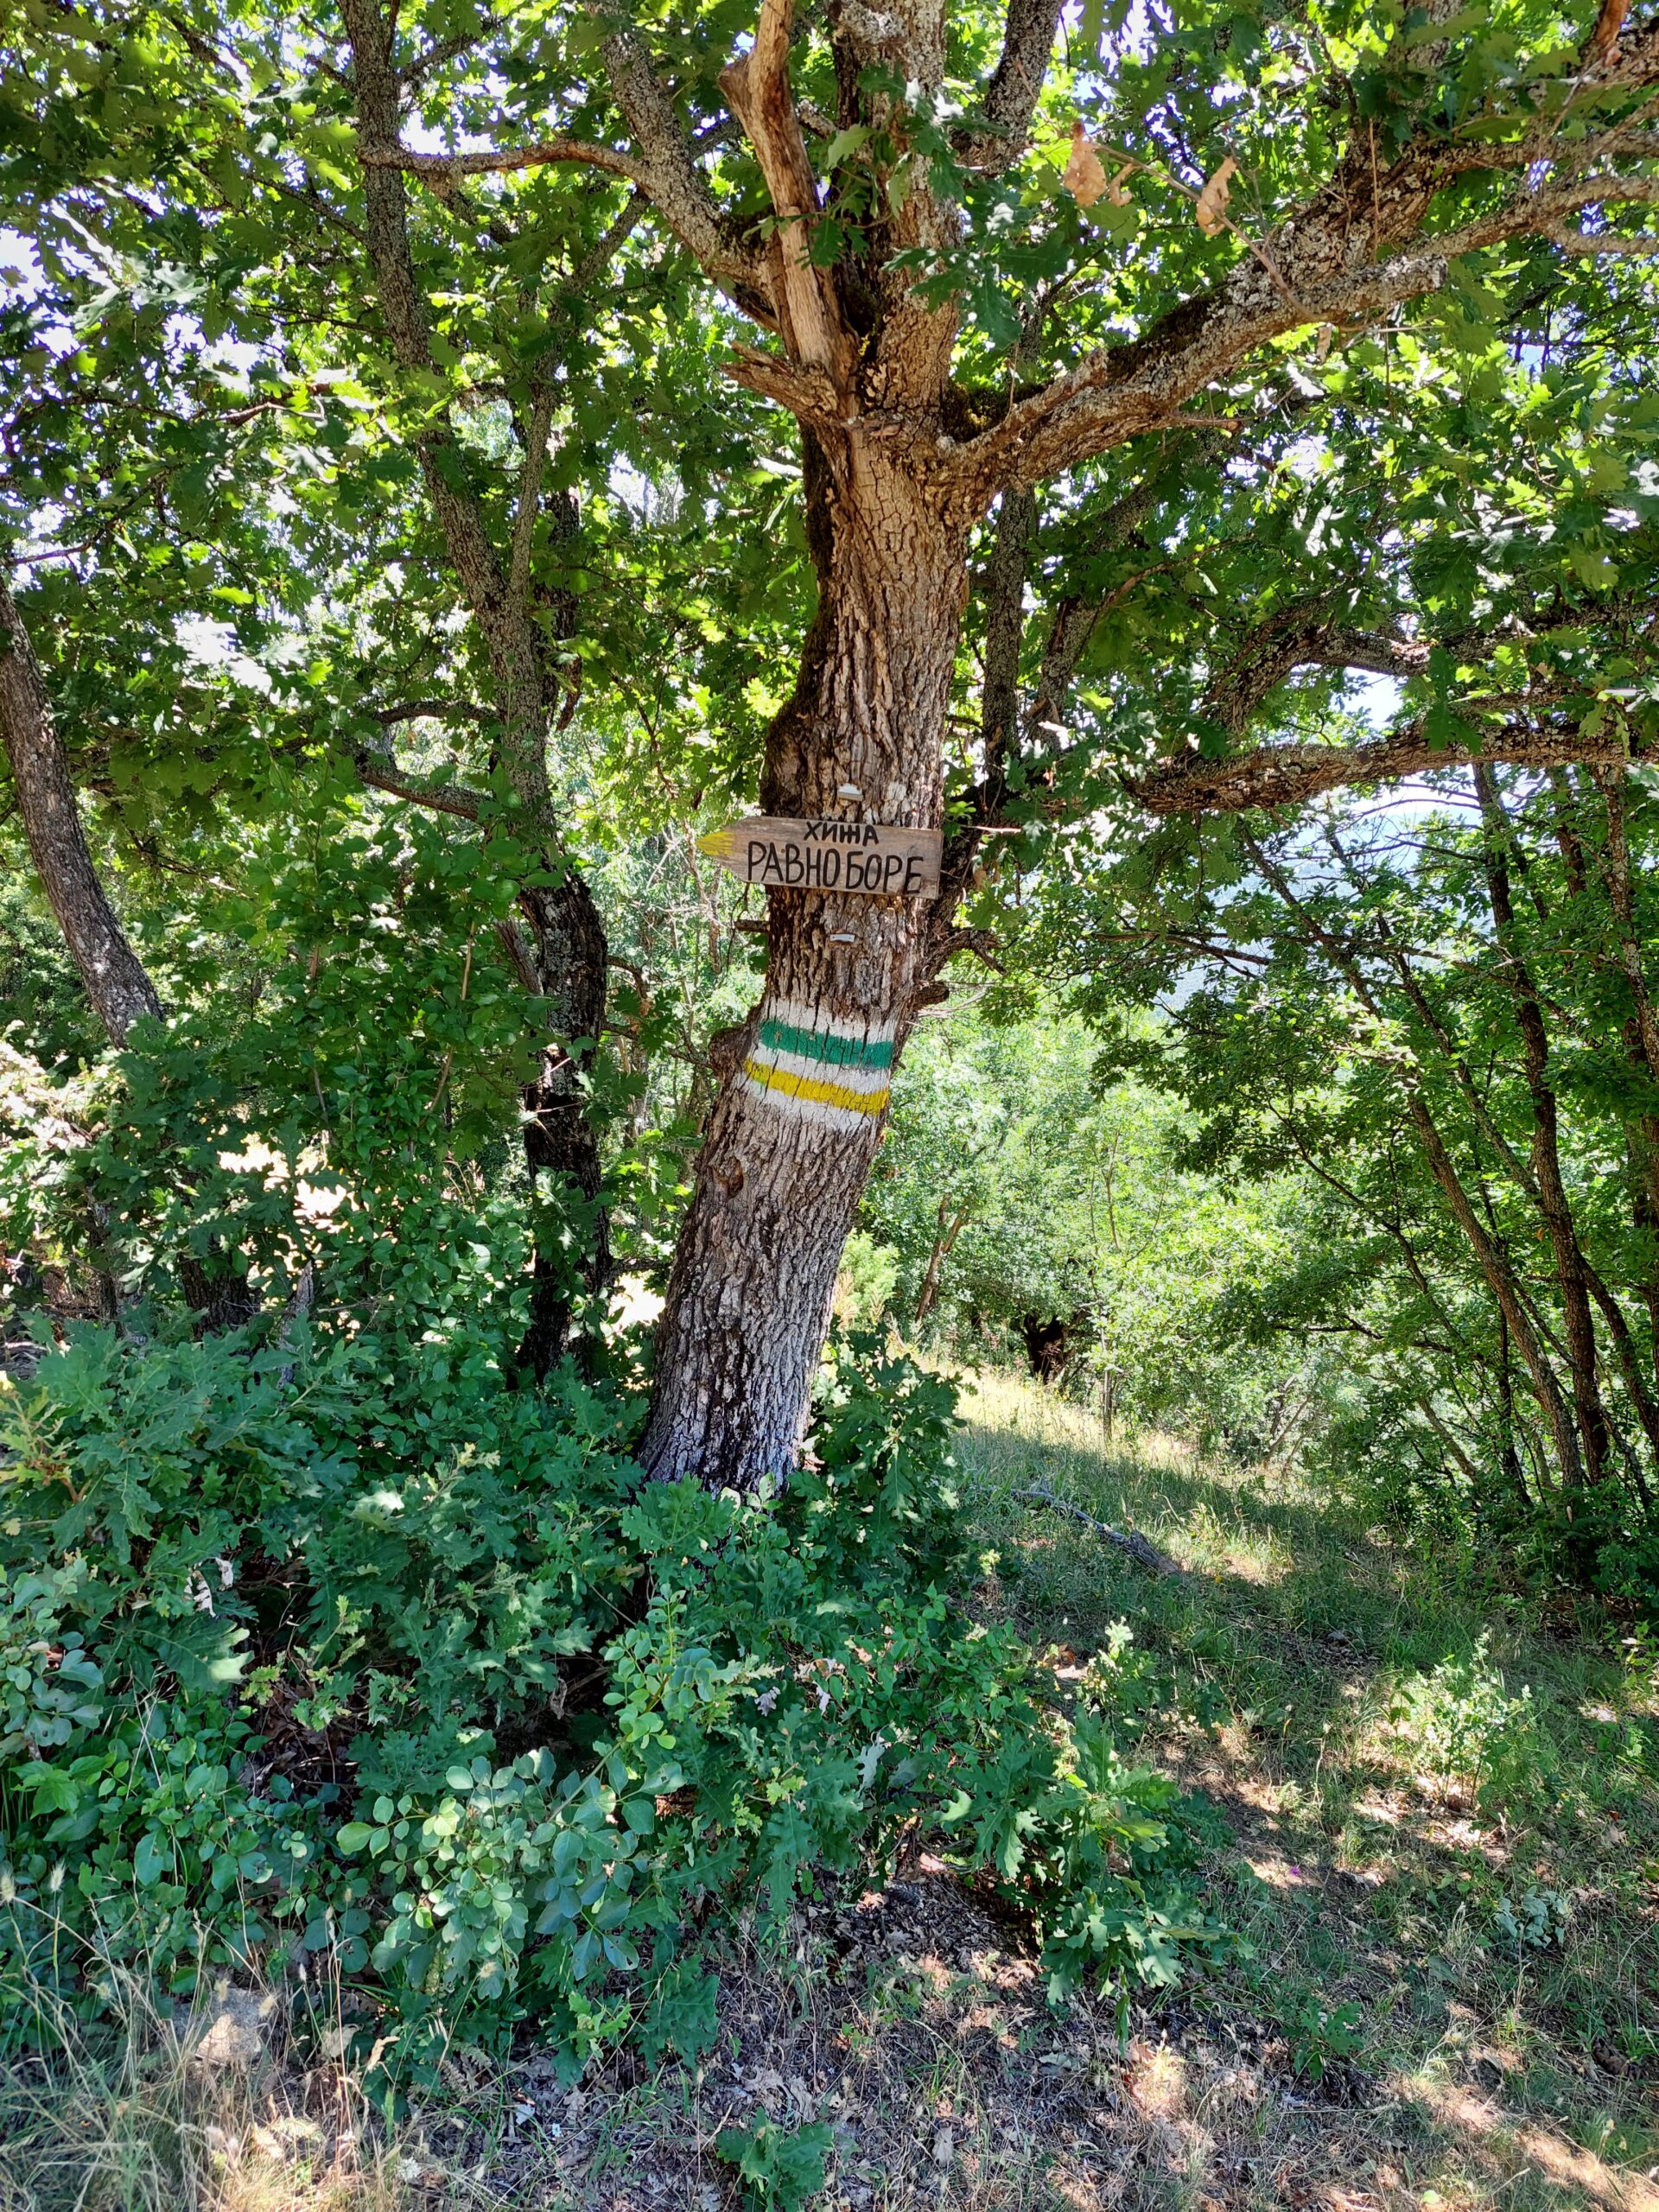
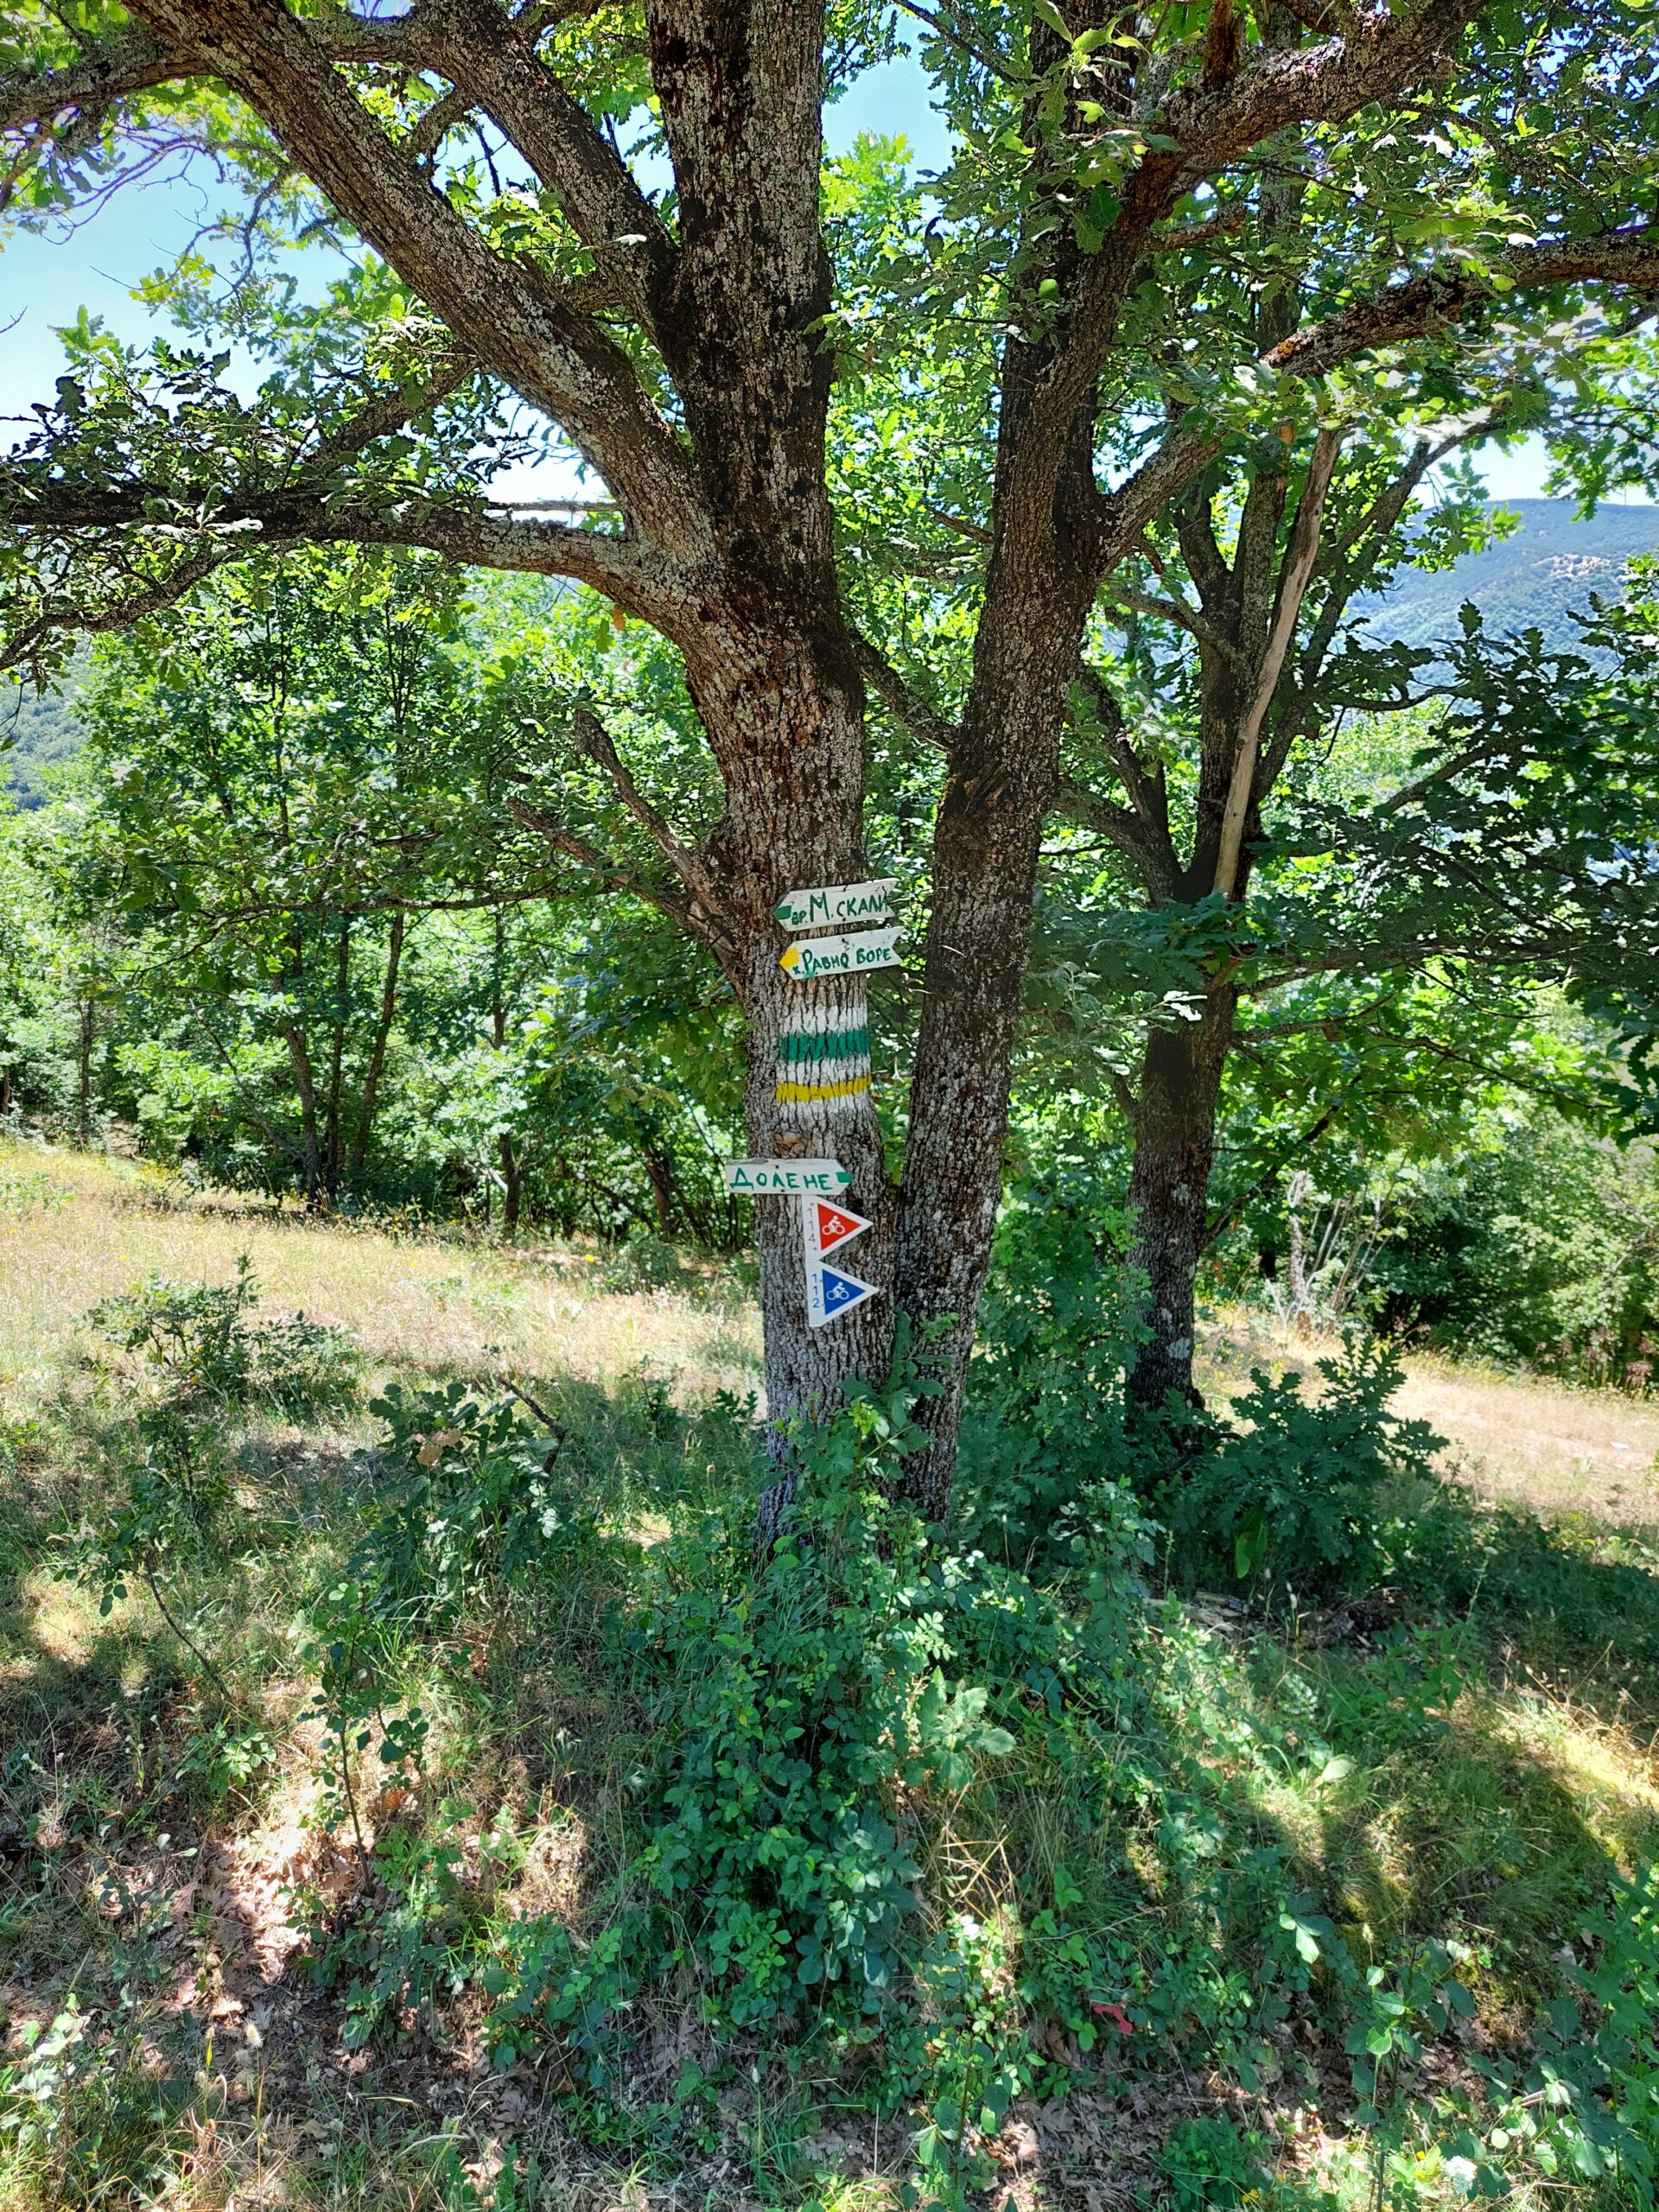
It didn’t take long until the incline went up as well, but I already saw my goal and had a nice view.
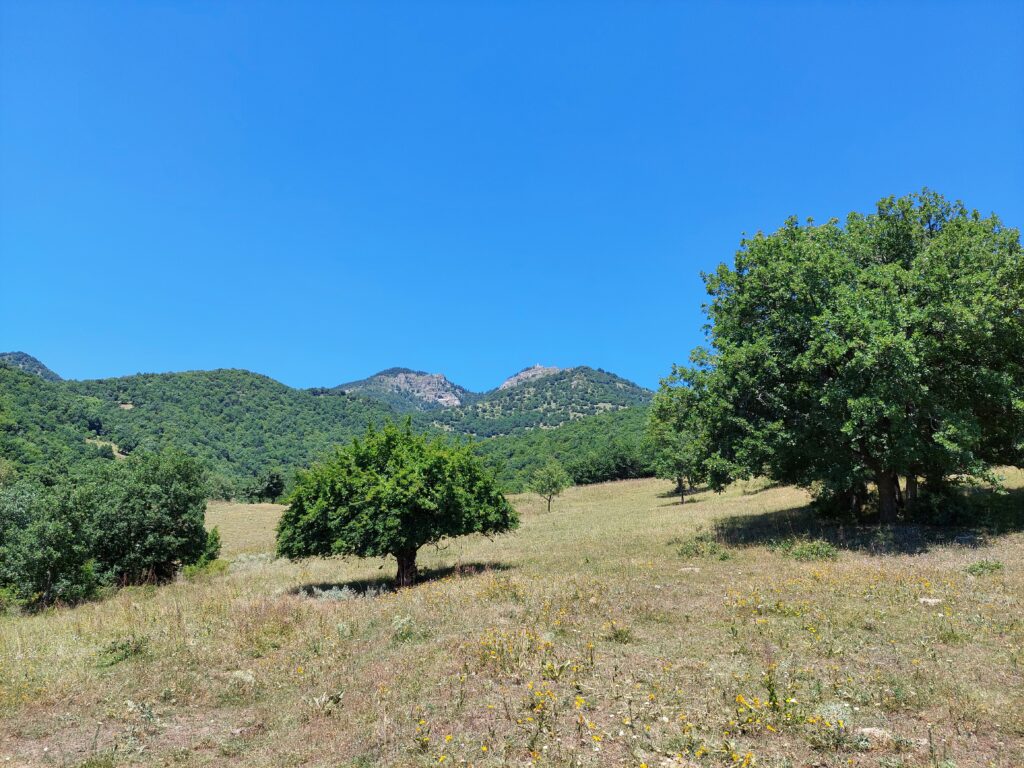
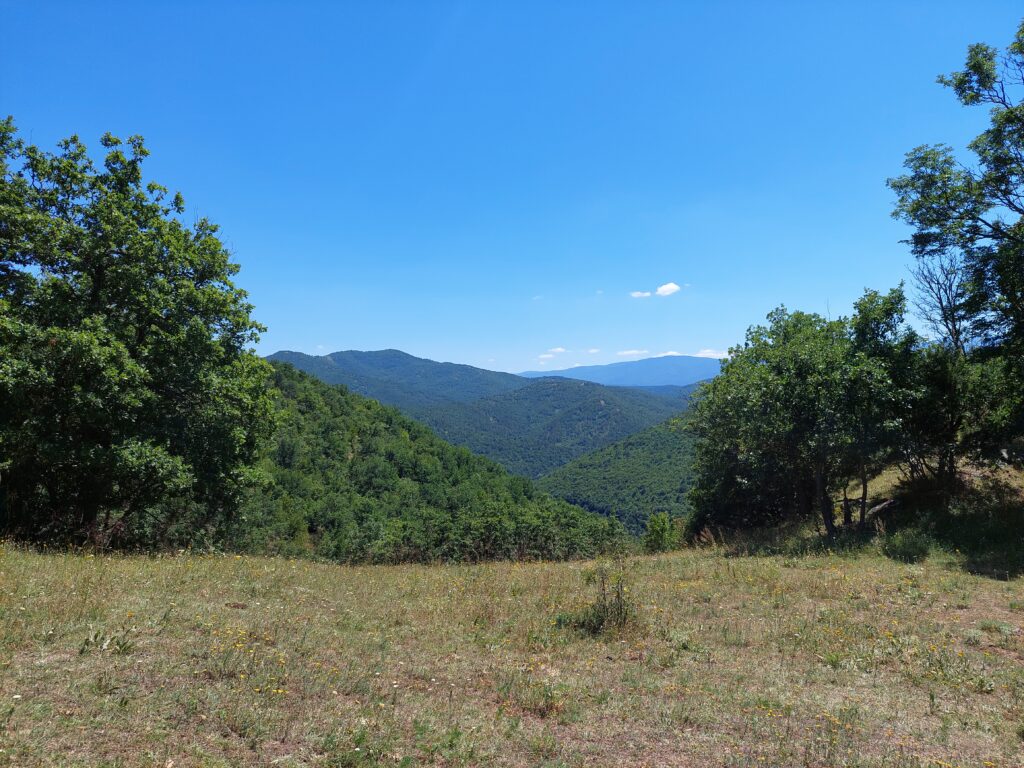
At this time the temperature kept going up as well as the sun was blasting. My phone said 29 °C. The wind was chilly, but the sun blasted.
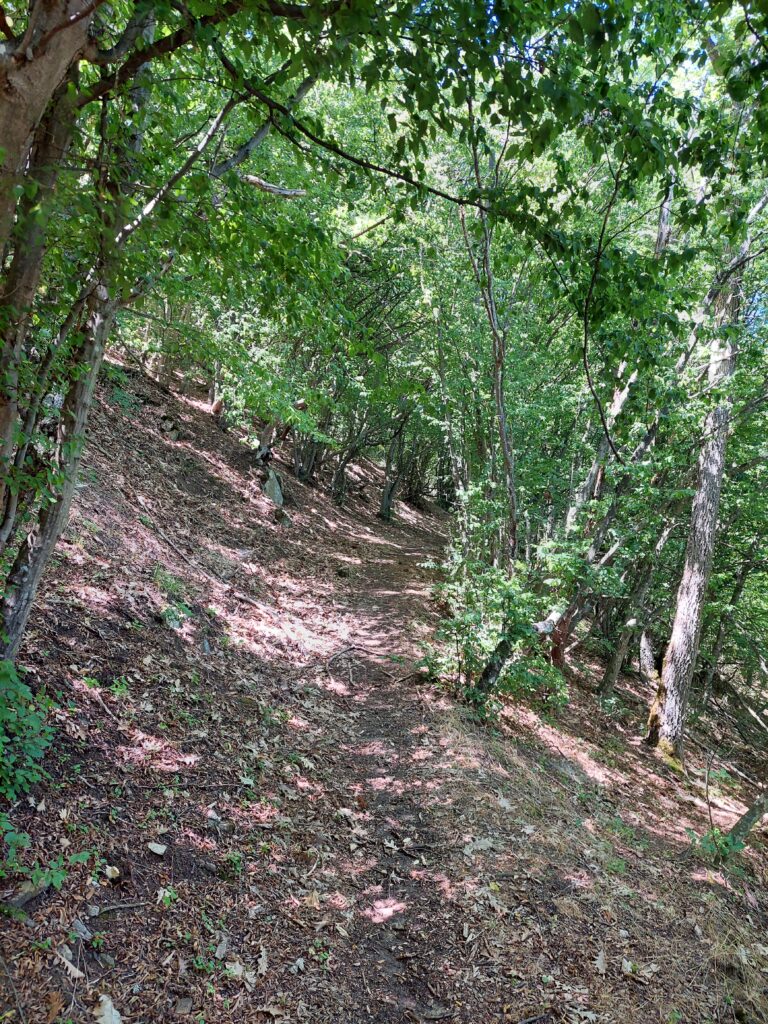
I kept climbing up and up and at some point I decided to take a break and refuel with my classy food supplies.

After the incline kept climbing as well, from 15% to 22%, I decided to take a break and also give my feet a fresh breeze of air. By this point I also noticed that my hiking shoes are not designed for those hot temperatures. I think I would have been better off with my running shoes instead.
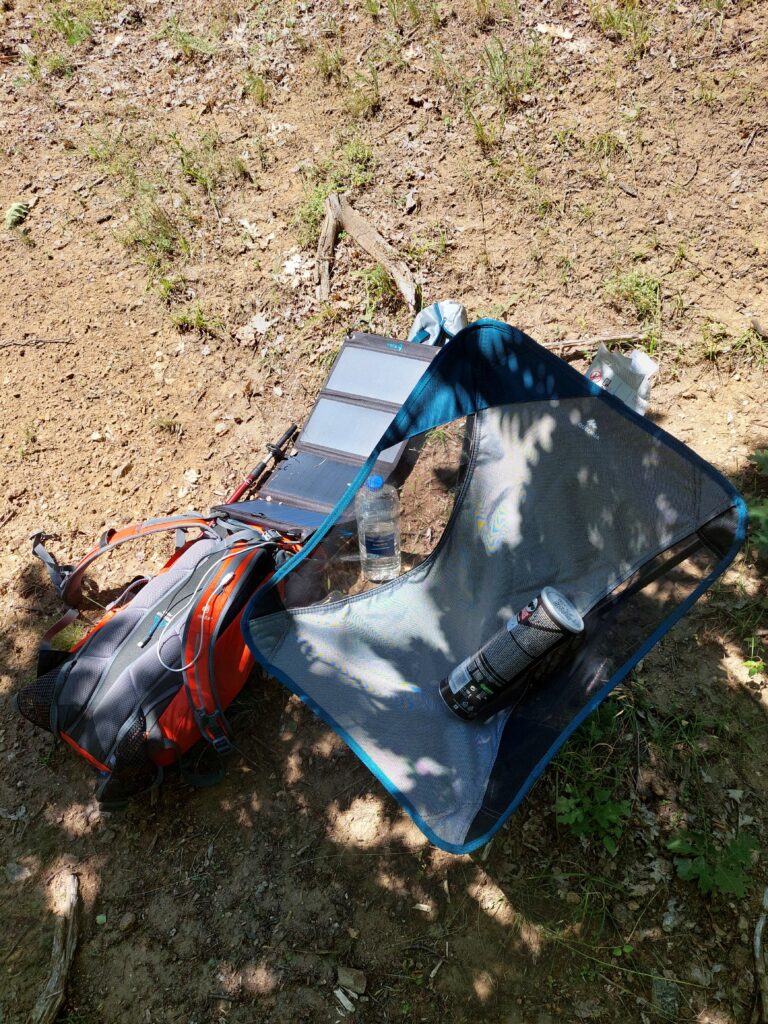
After a break of like 15 minutes I double checked the path ahead of me and the time it would take to climb up and come down again. I noticed that I was running very short of time. It would take another 1½ hours to reach my intended goal and then I would need to get down all the way. Since I already arrived with a delay of about half an hour I didn’t want to risk missing the train and getting stuck in either Dolene or Septemvri.
I decided to go down a little and extend my break to almost an hour instead of reaching for the stars.
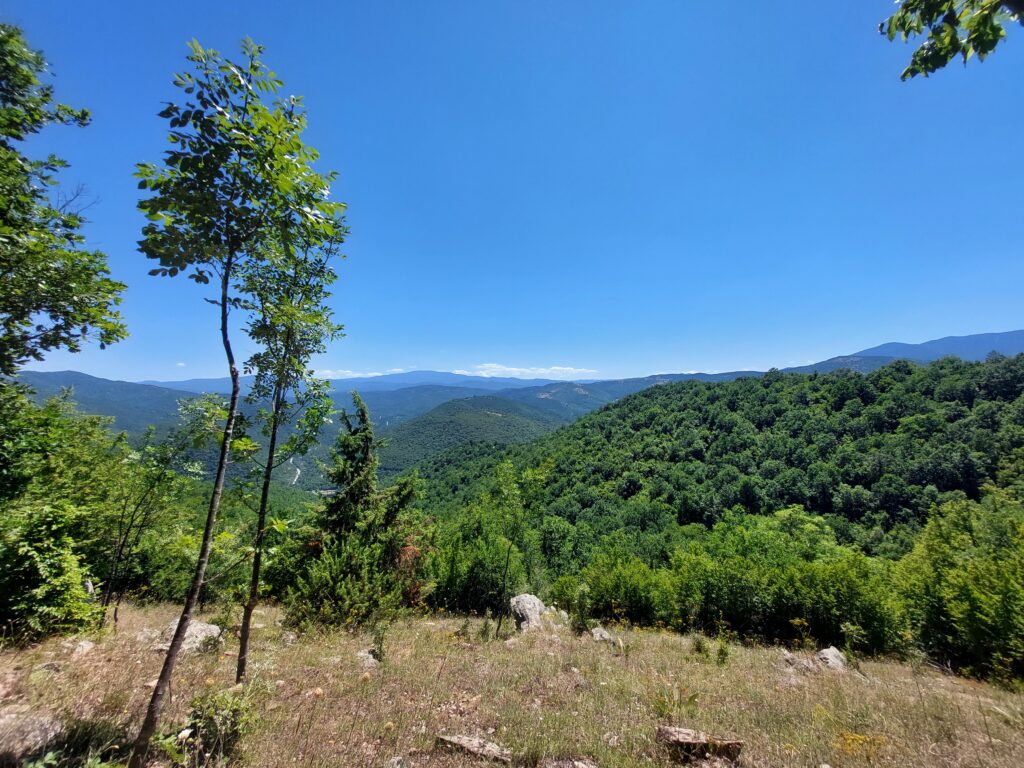
From there on after like an hour of resting and sleeping a little, I went down to the village. On my way to the village, I encountered a few cows. On my way up I already encountered a few horses but they were too shy and ran away from me. The cows were just starring at me.
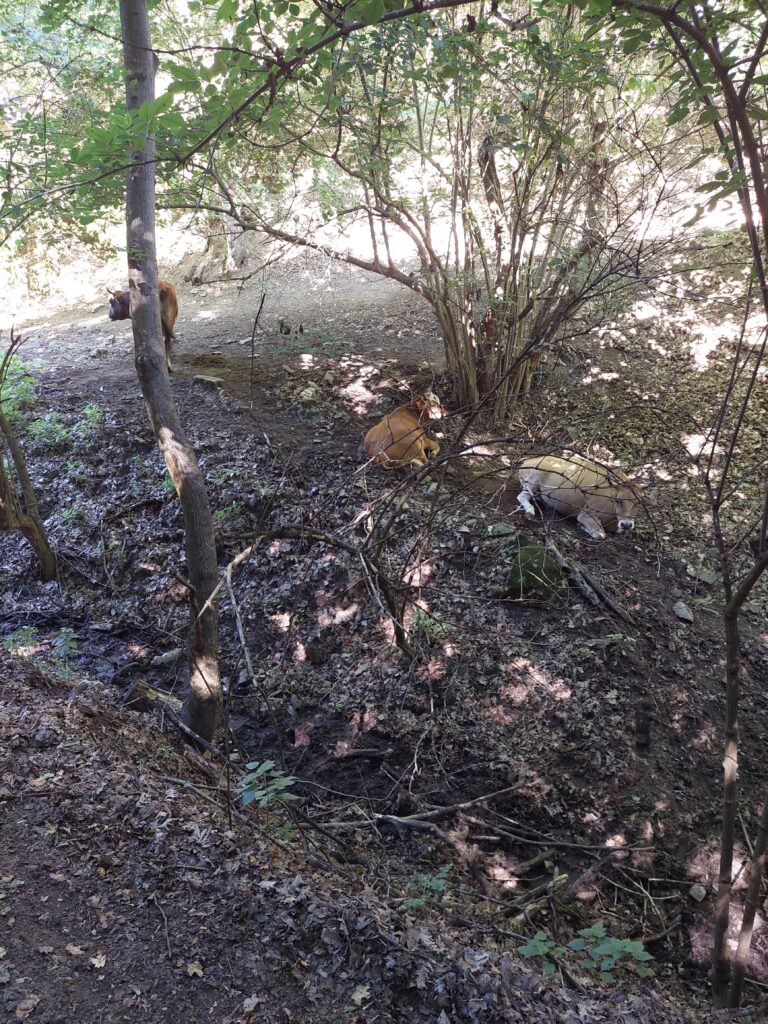
When I was back at the main street of Dolene, I had some left time to explore the area down there.
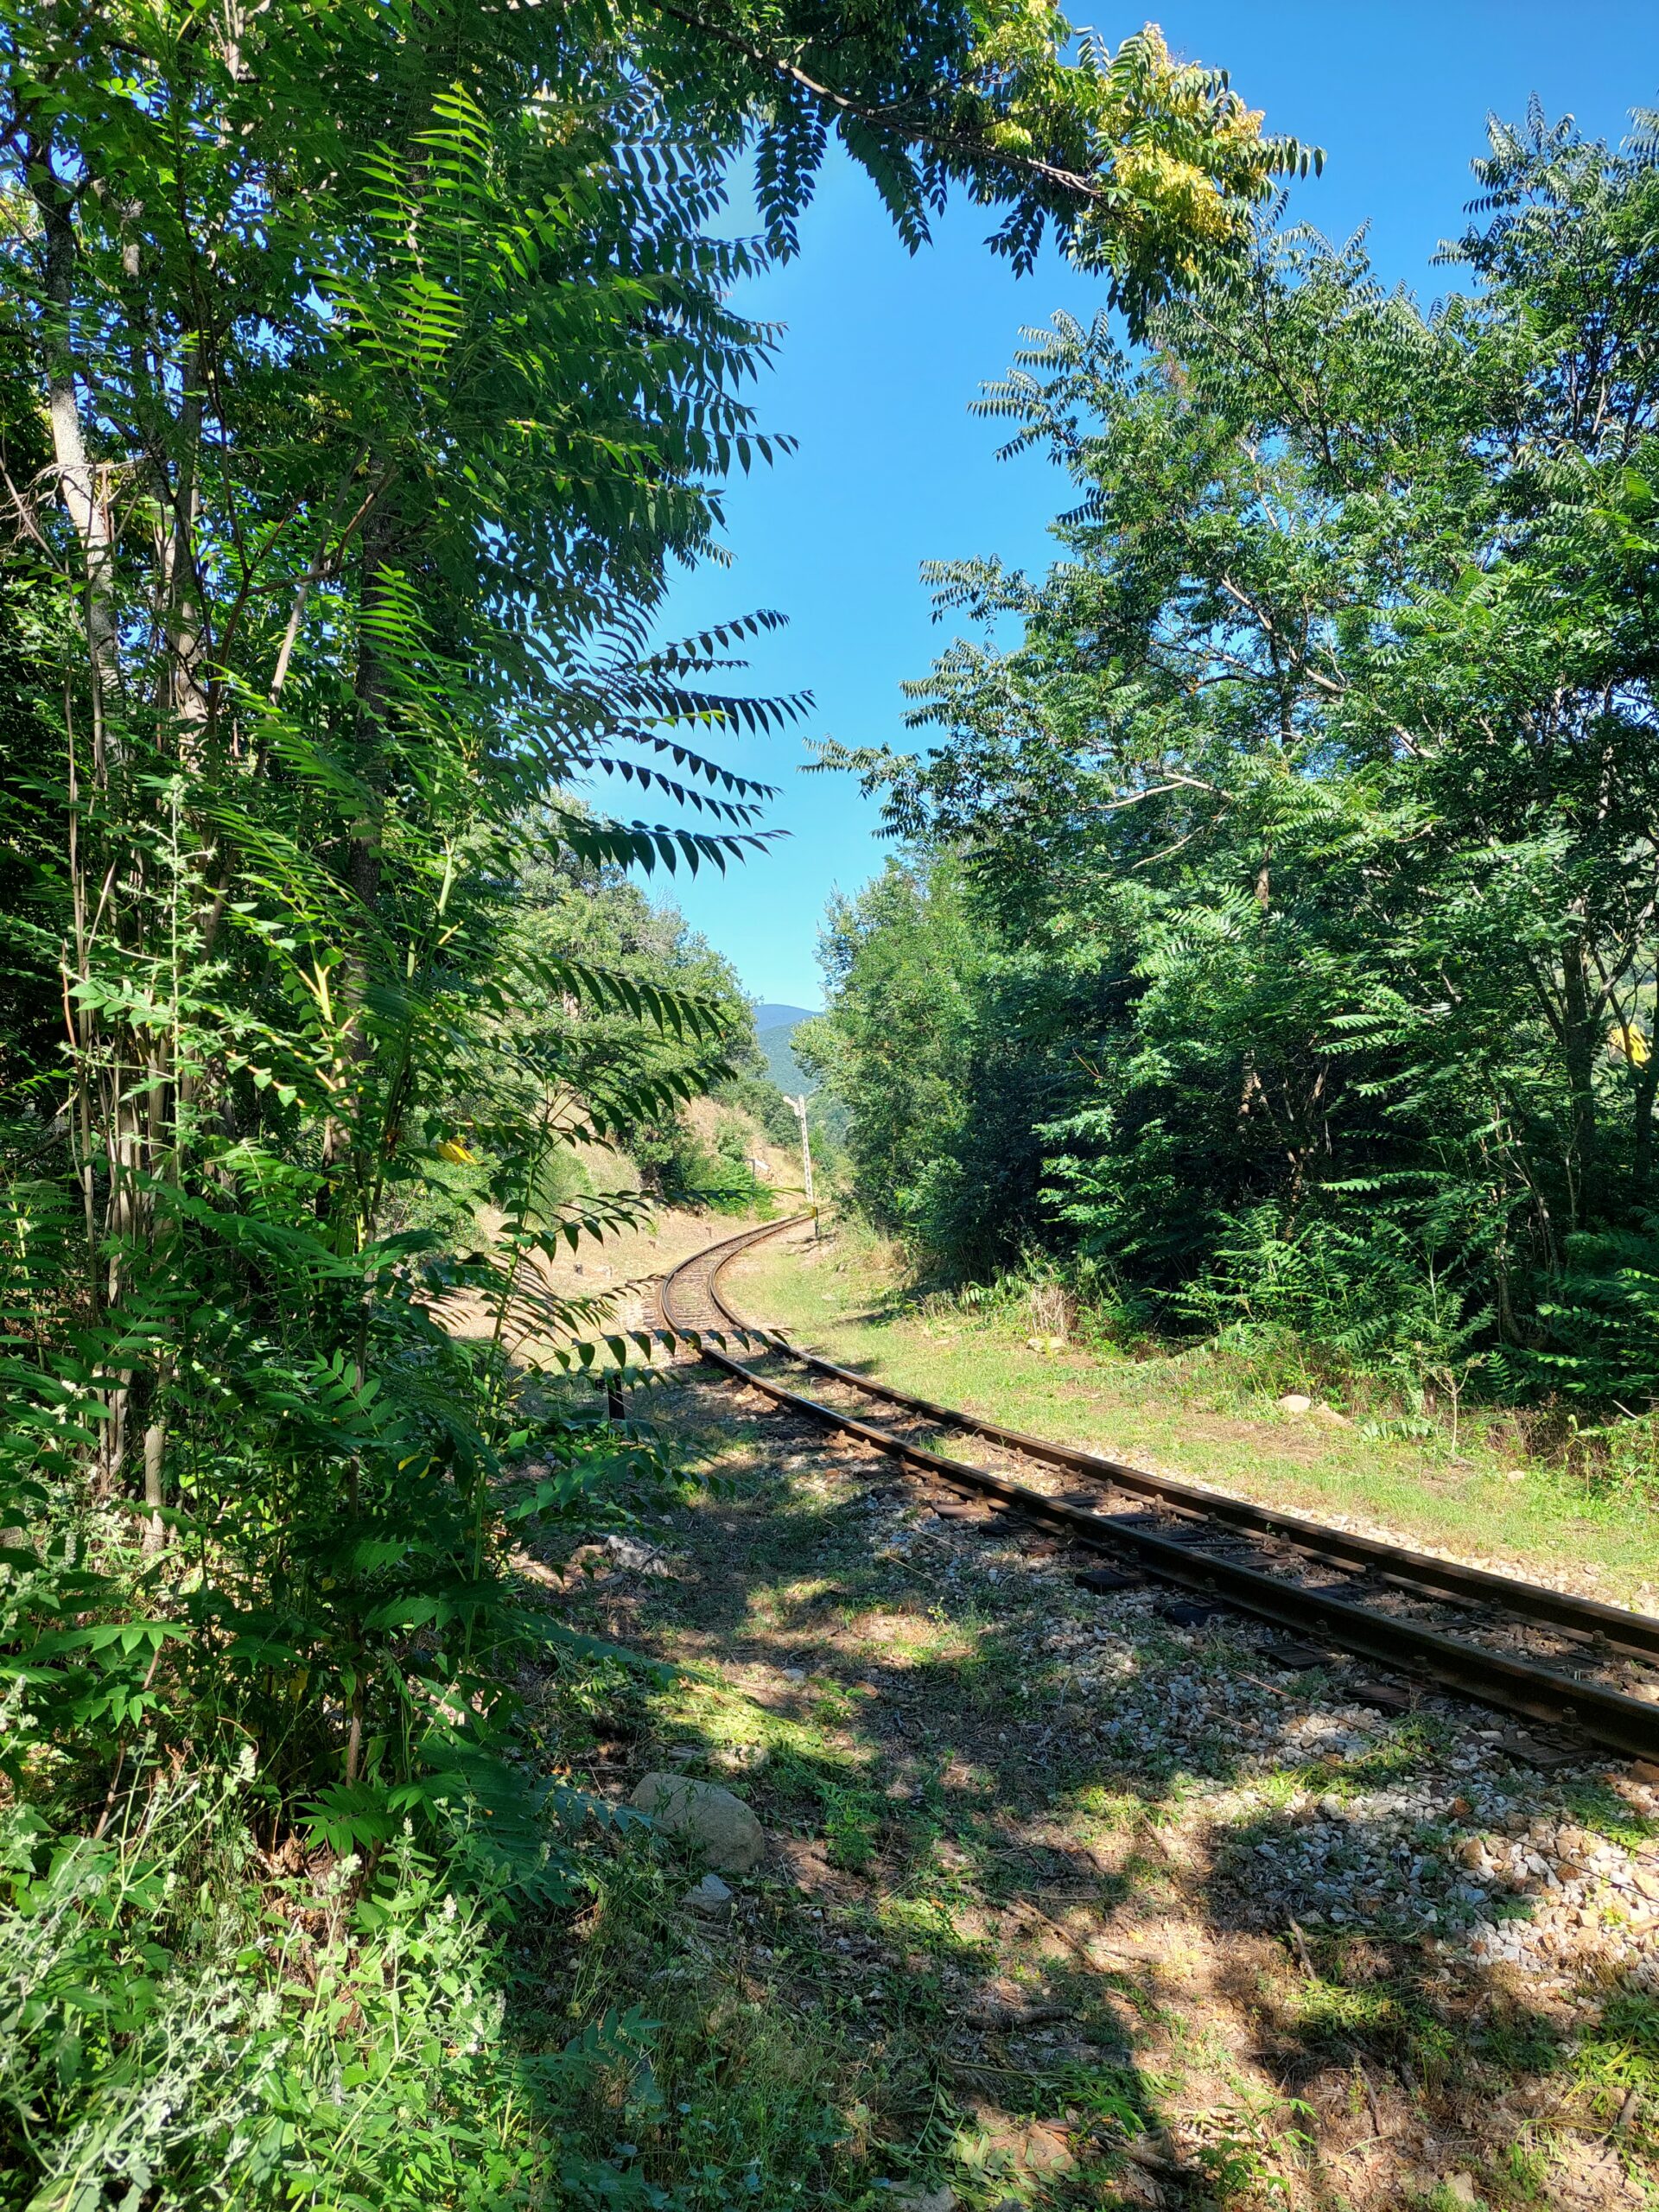
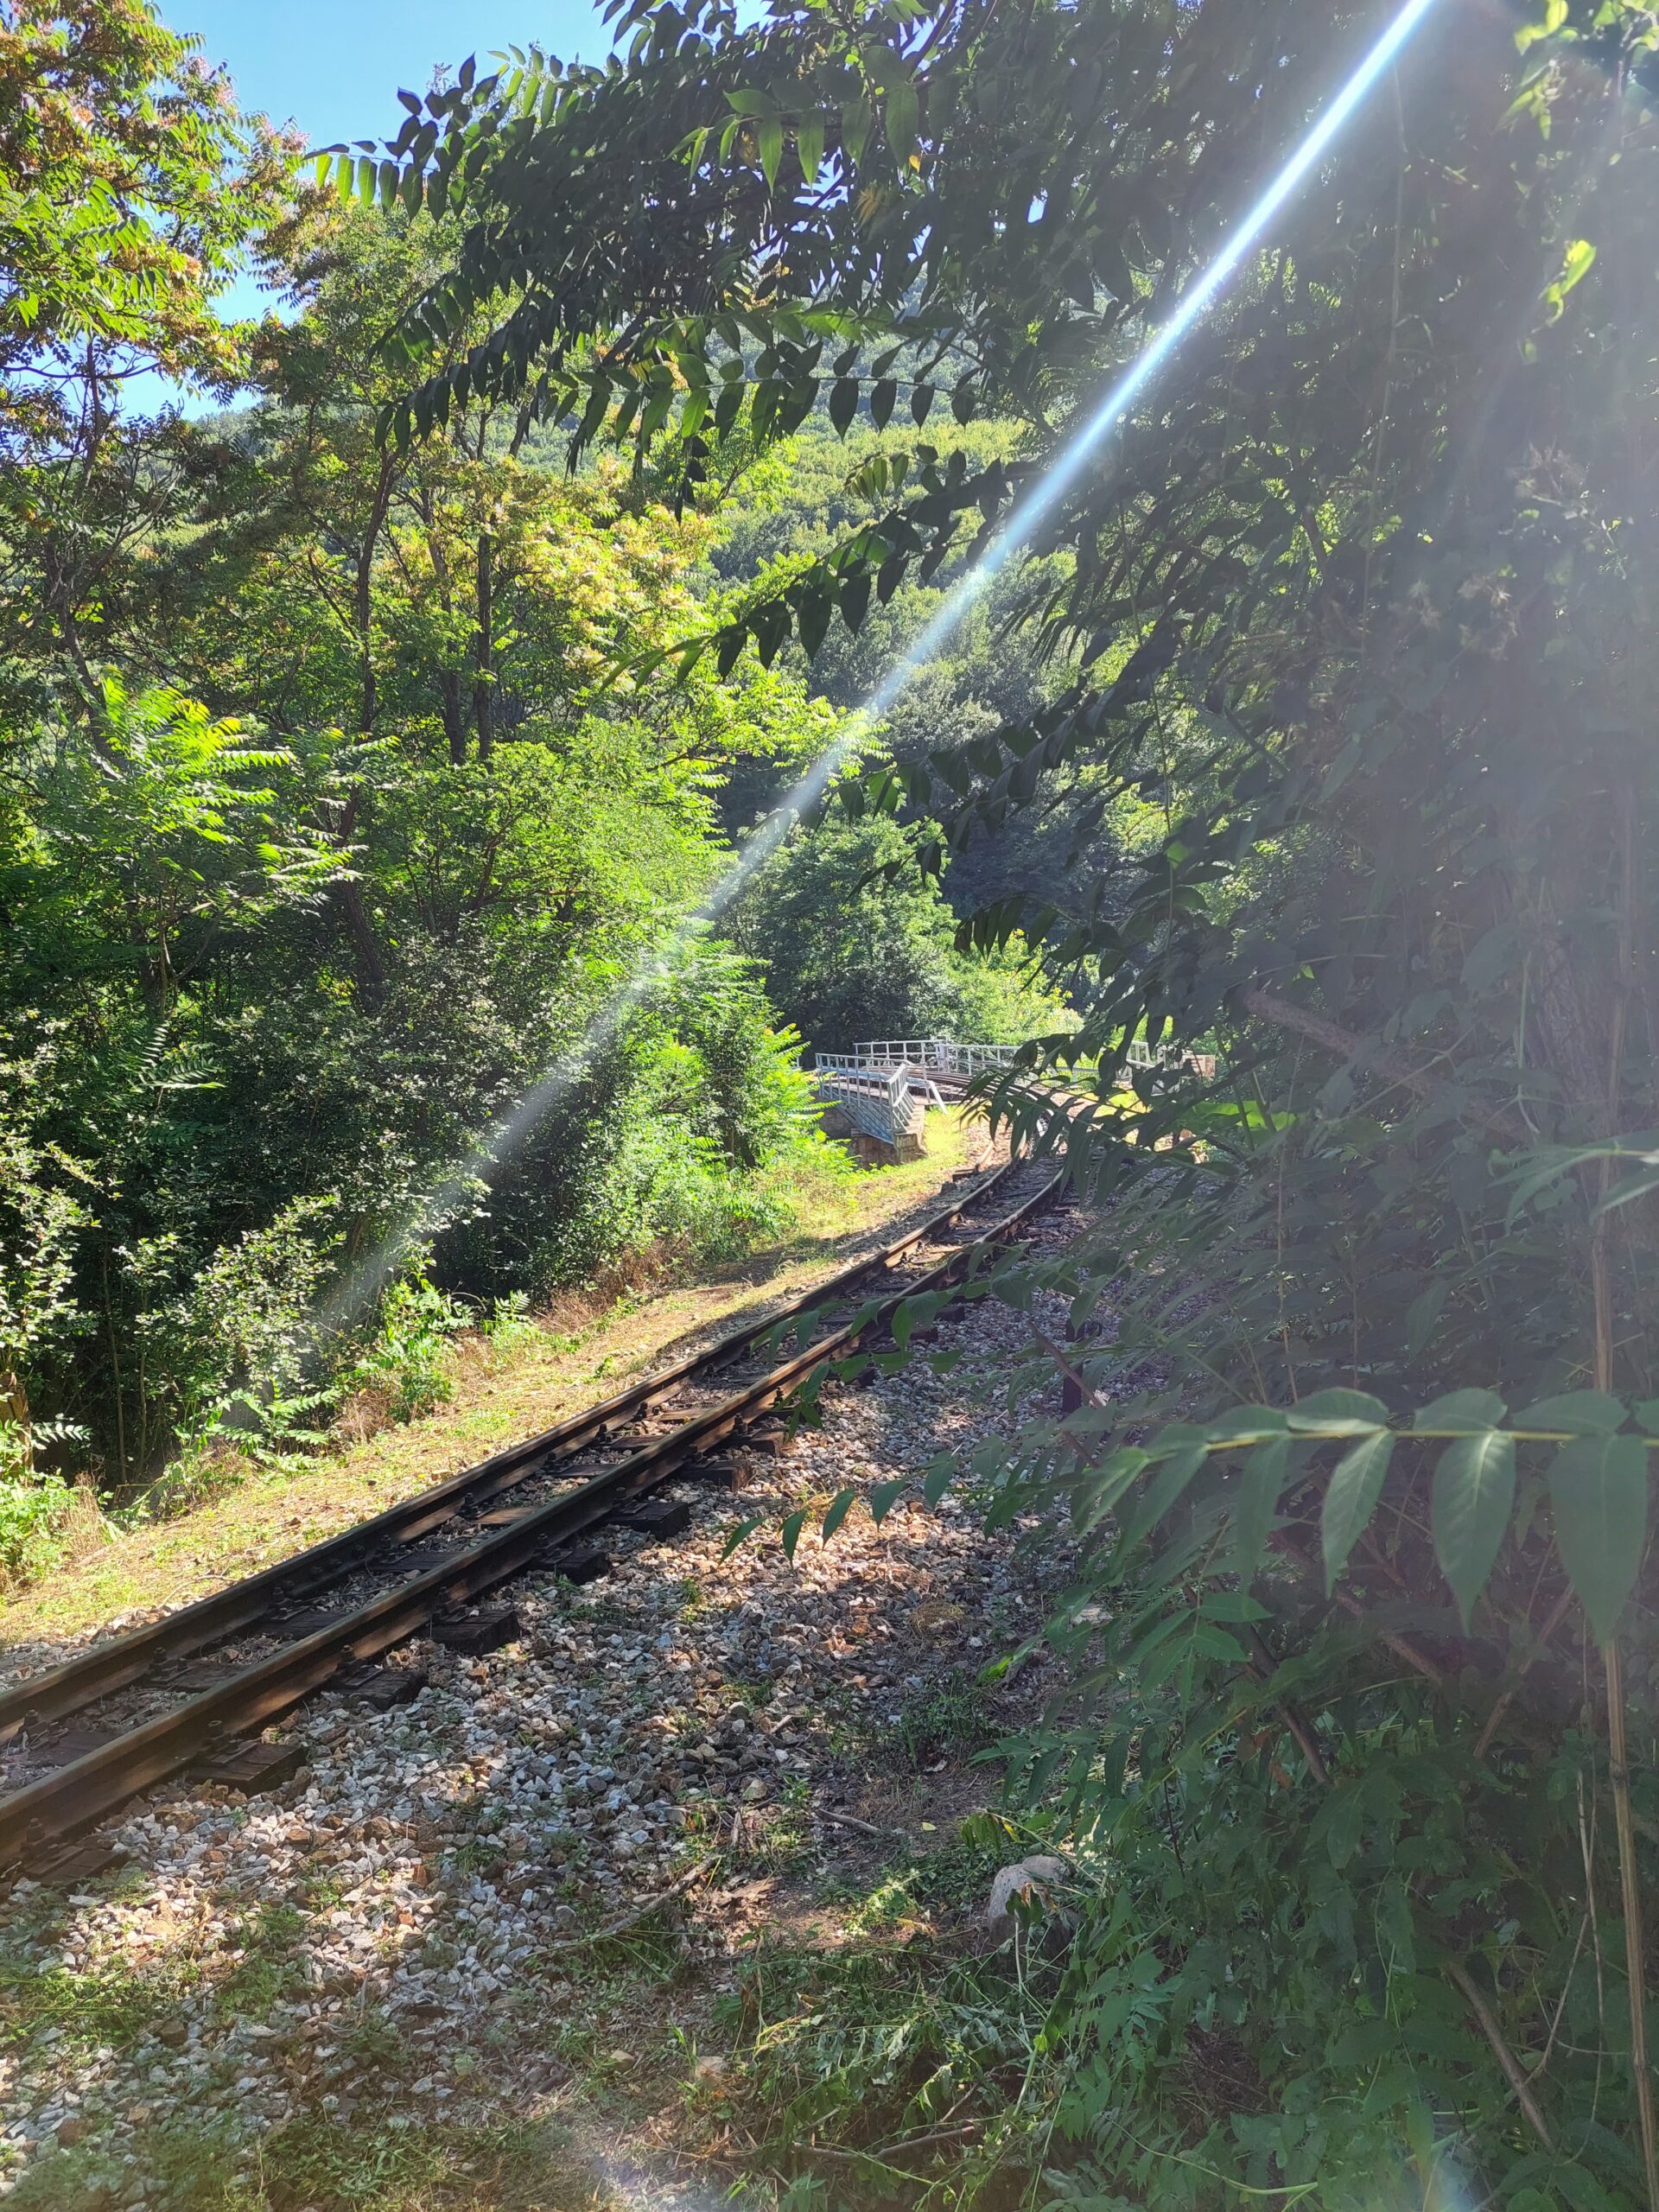
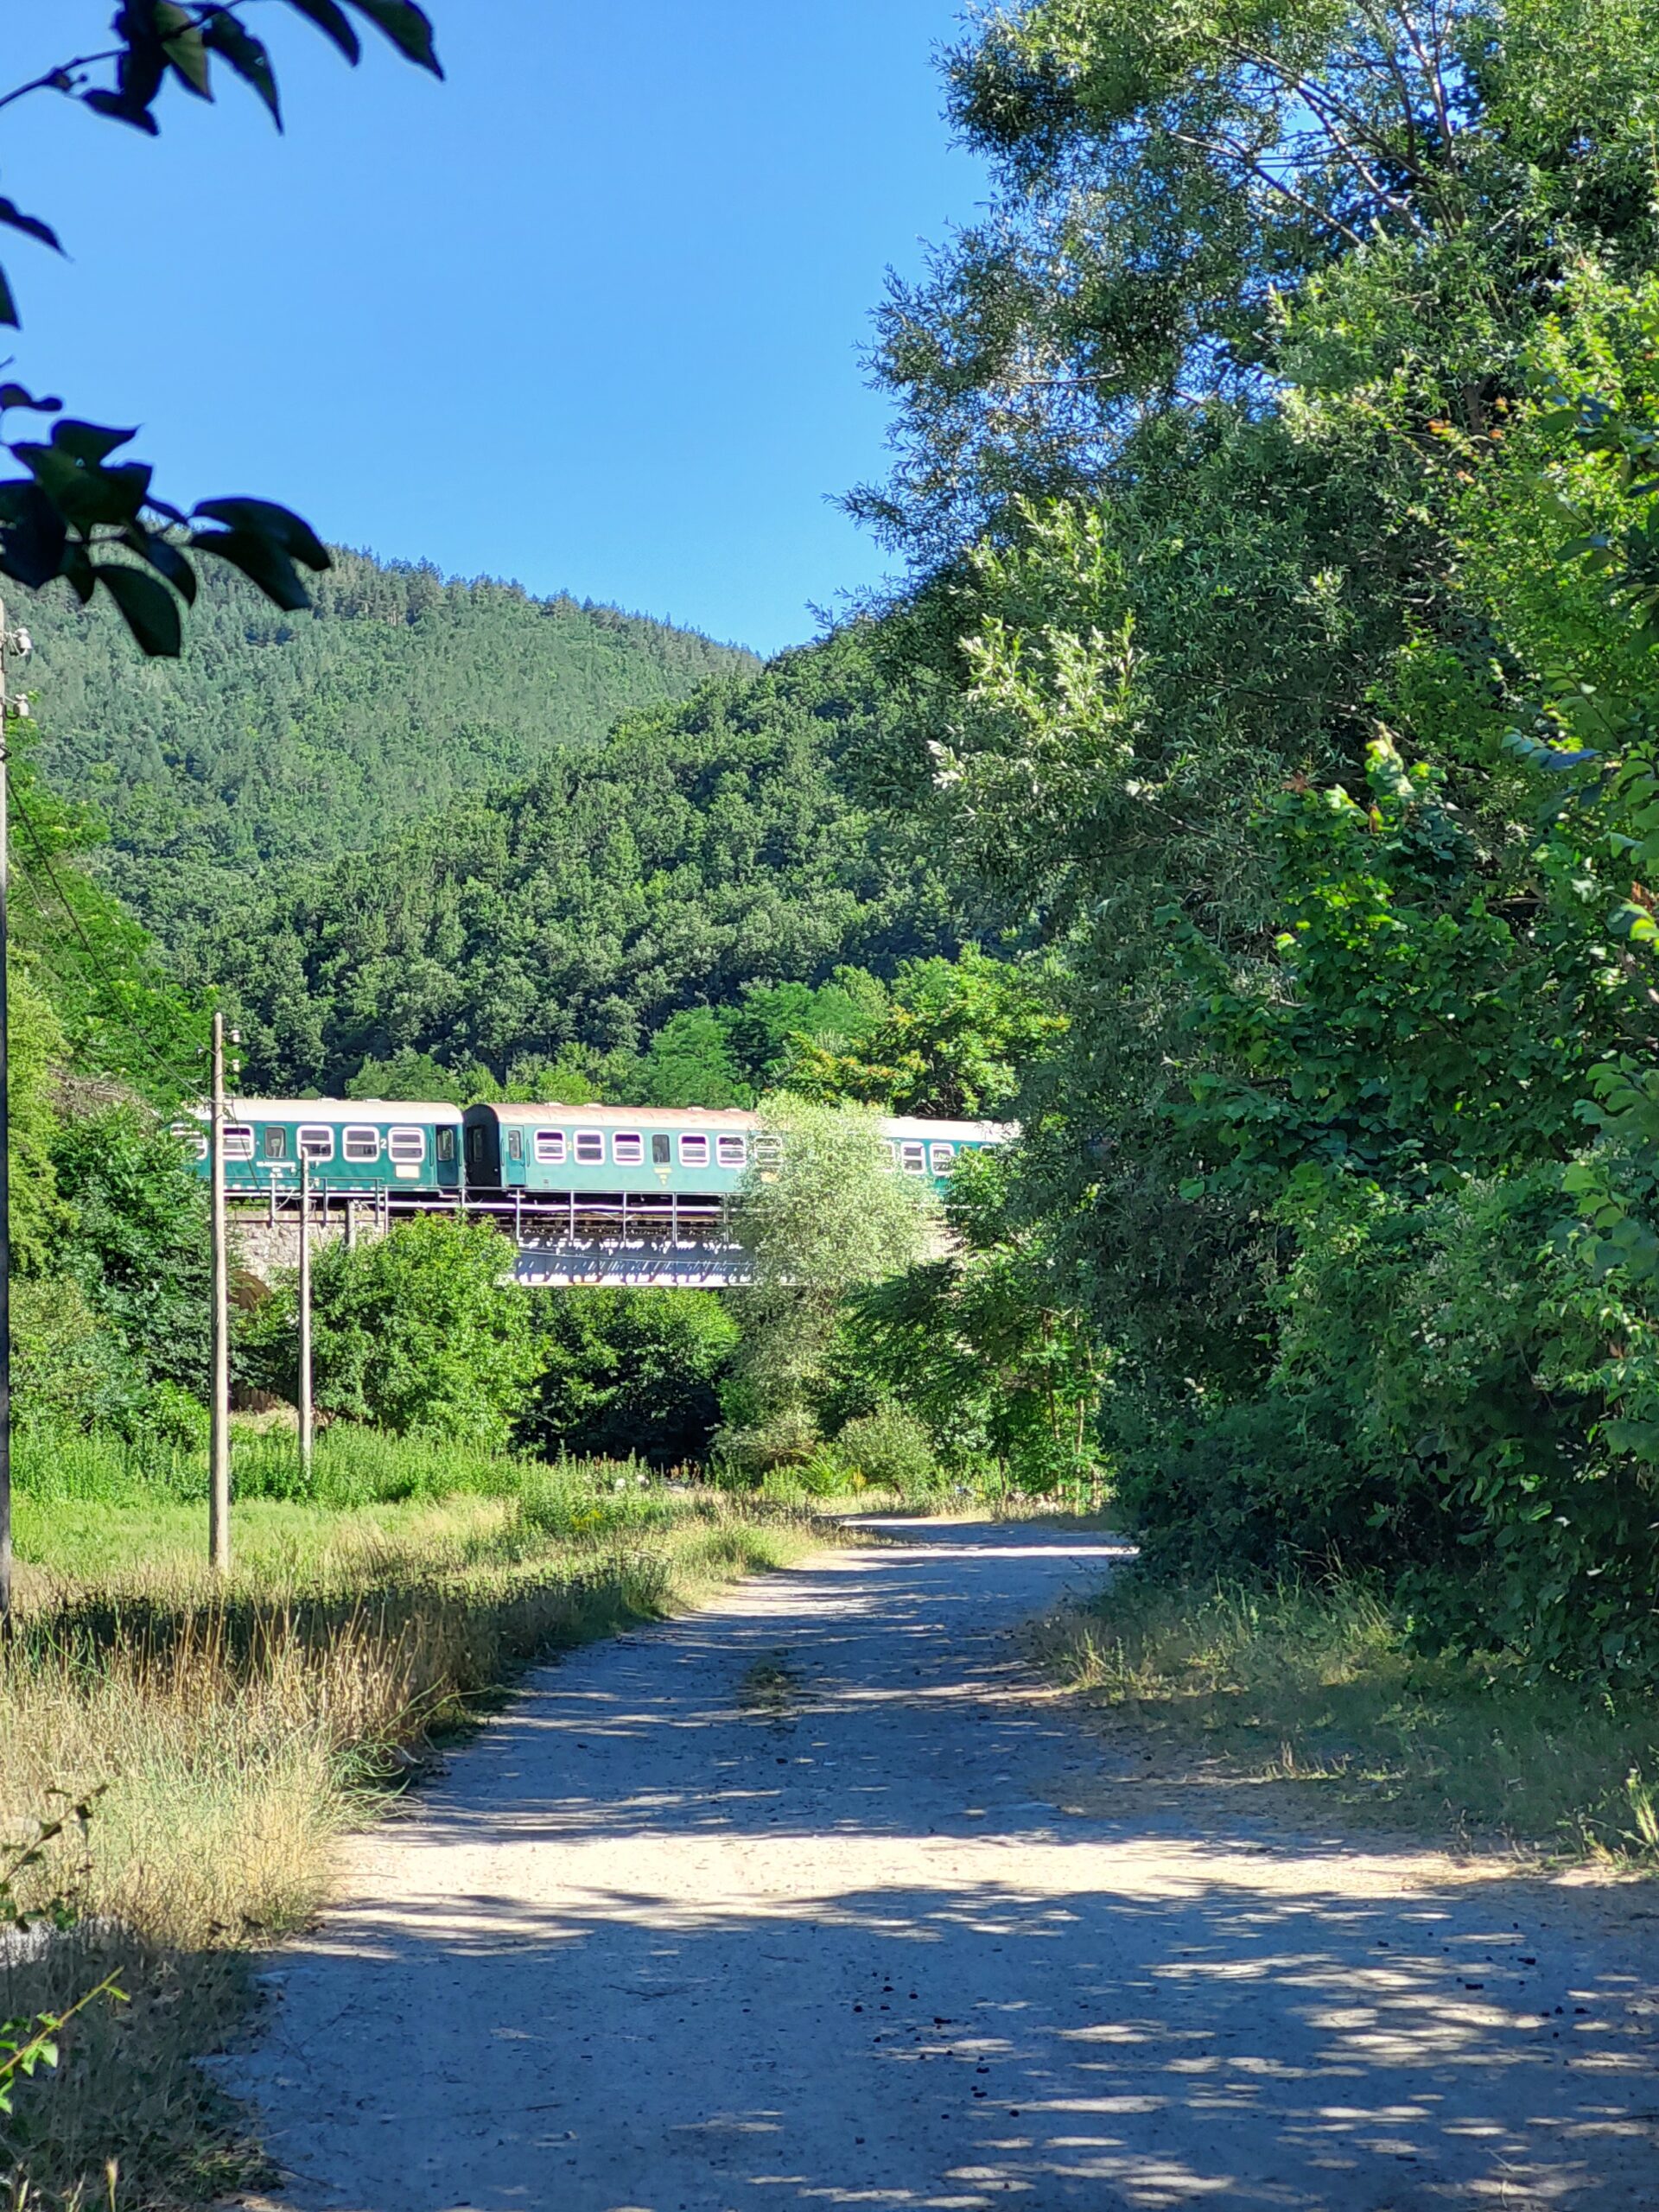
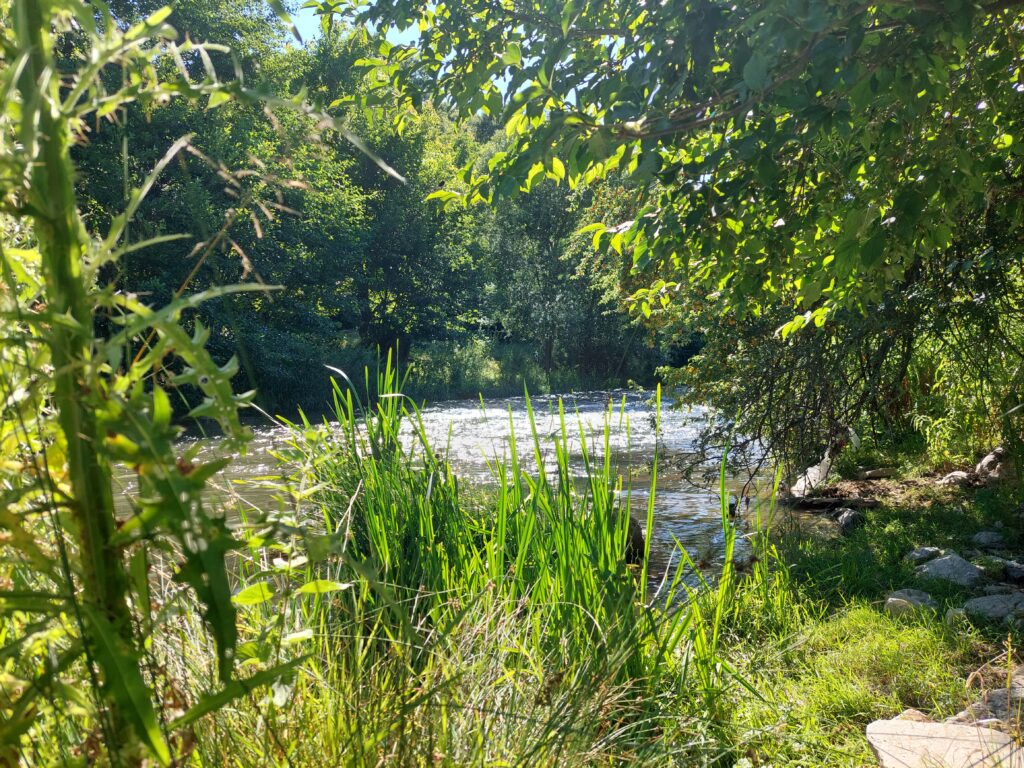
I went the main street northwards and spotted a nice place where I could take another break before I went heading back home.
I went back the main street to the train station. But somehow I missed the path to it directly and I needed to walk next to the tracks to find it.
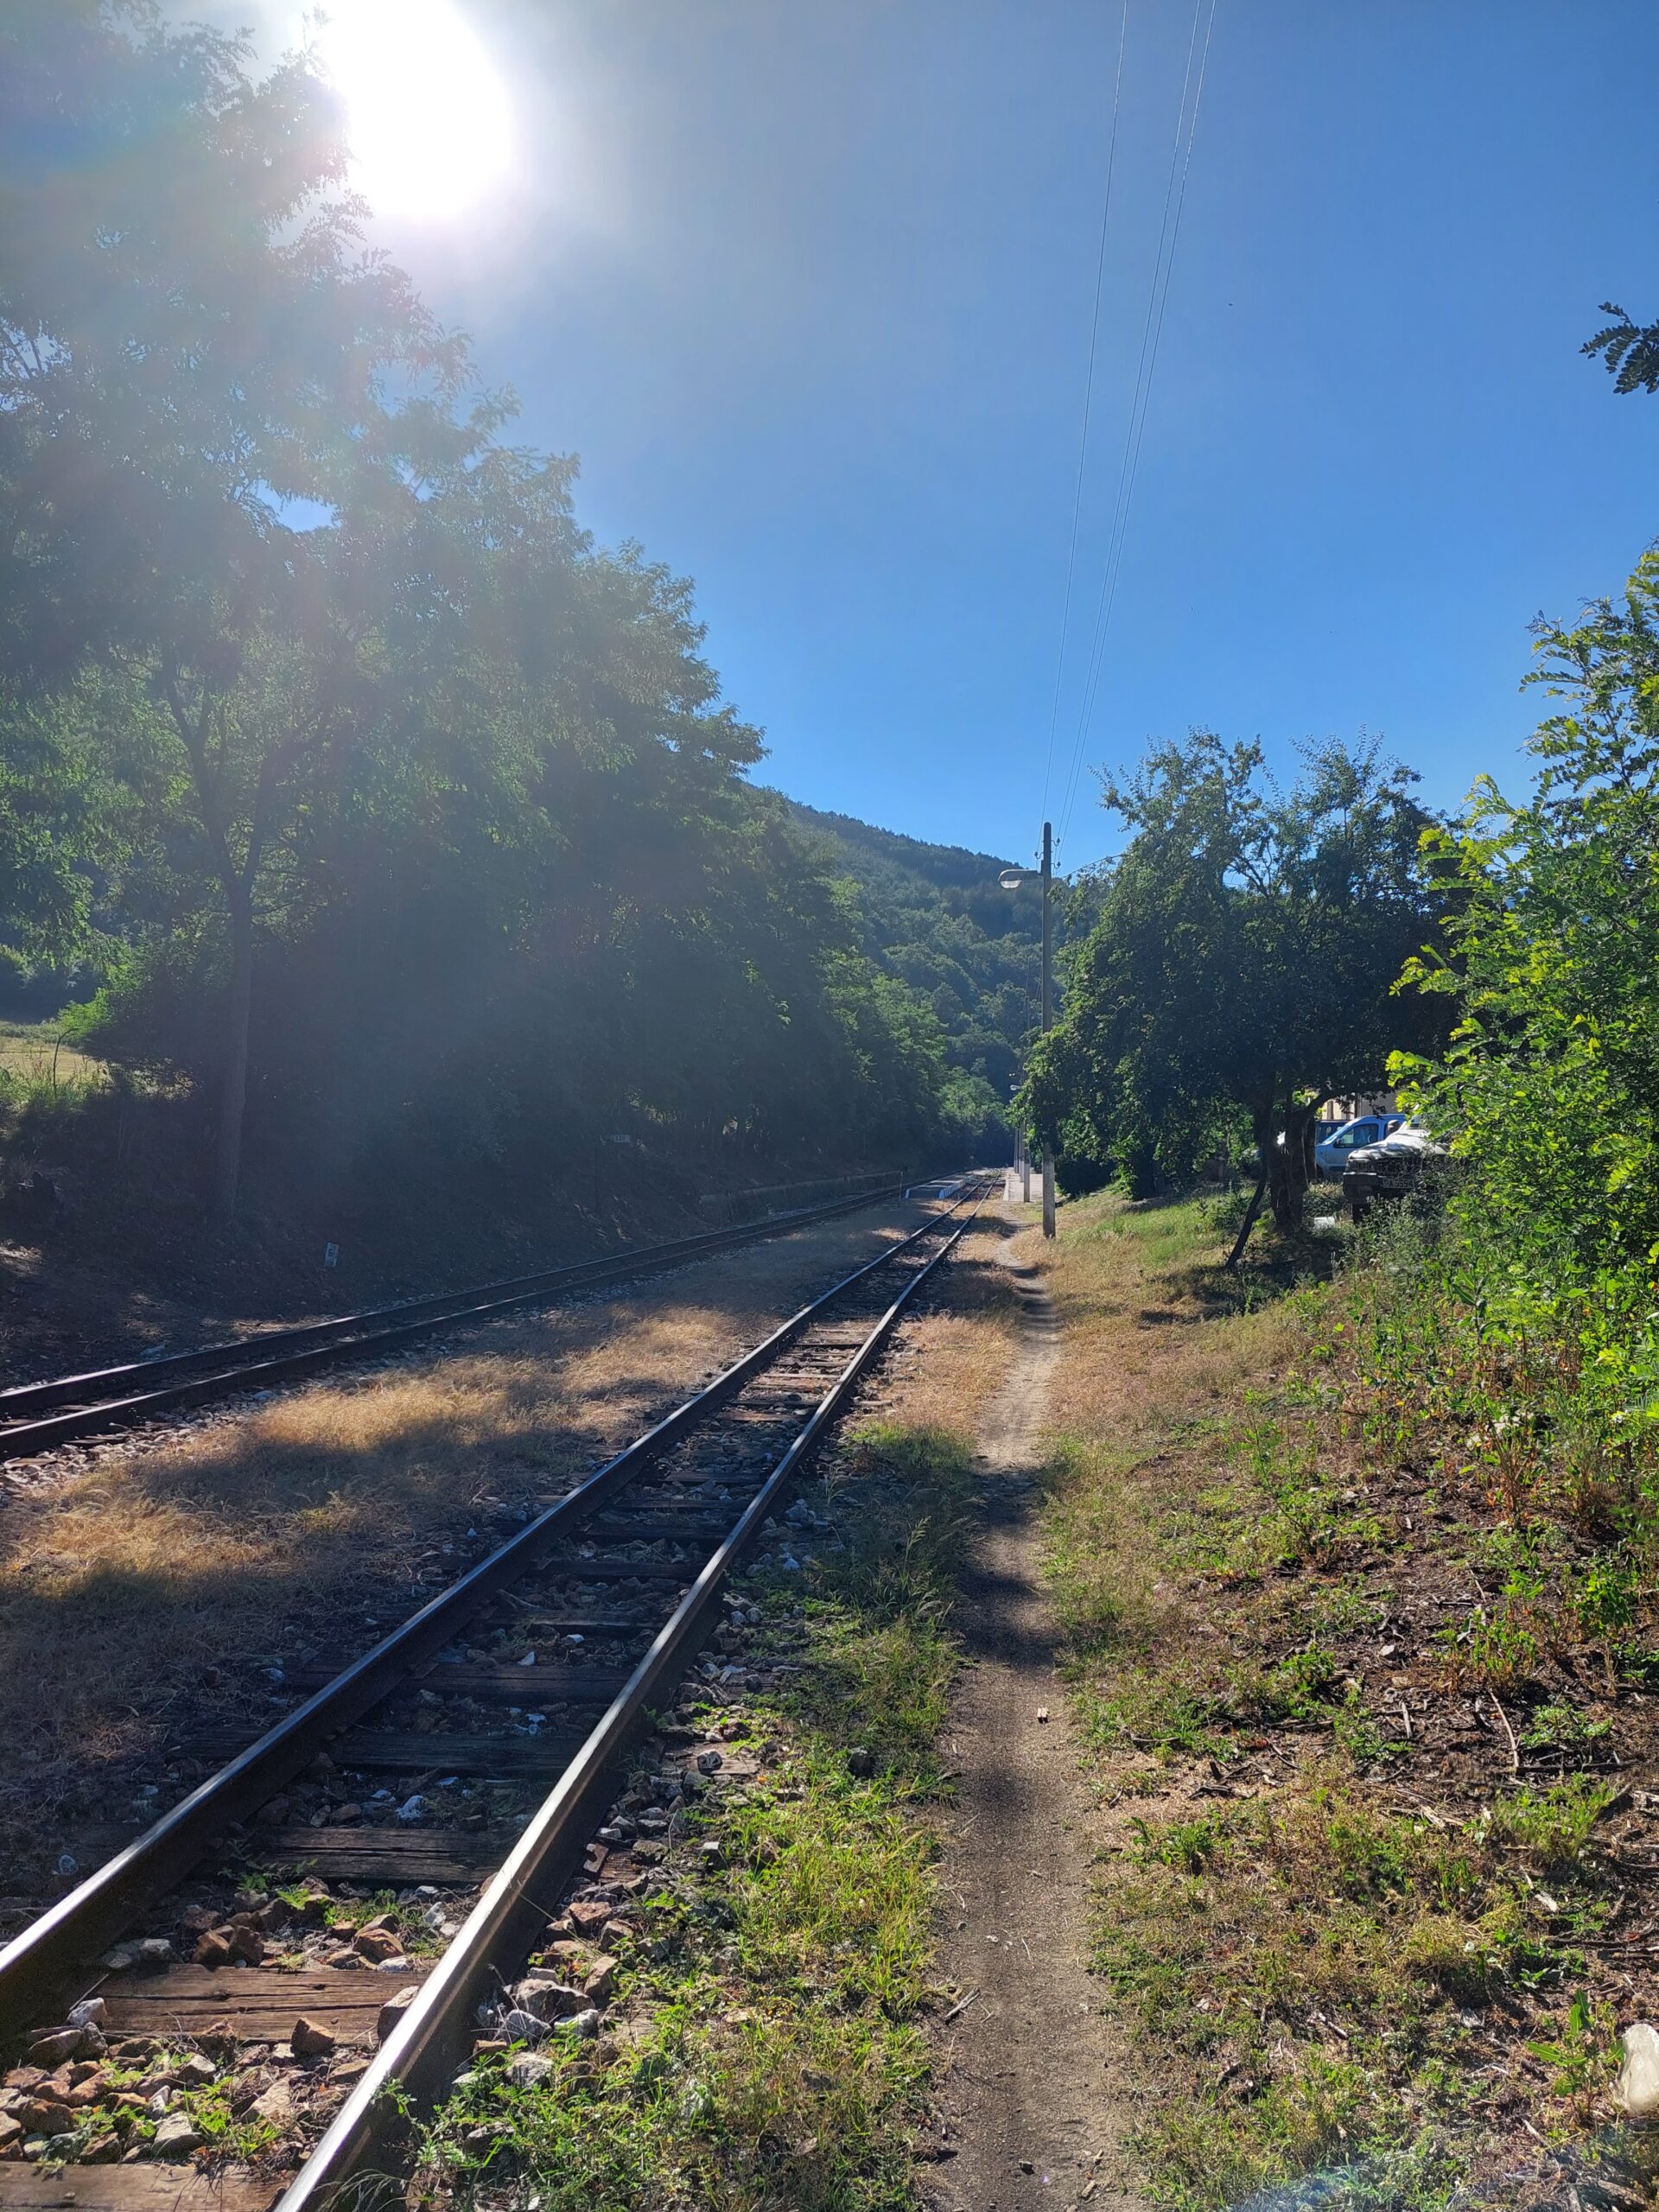
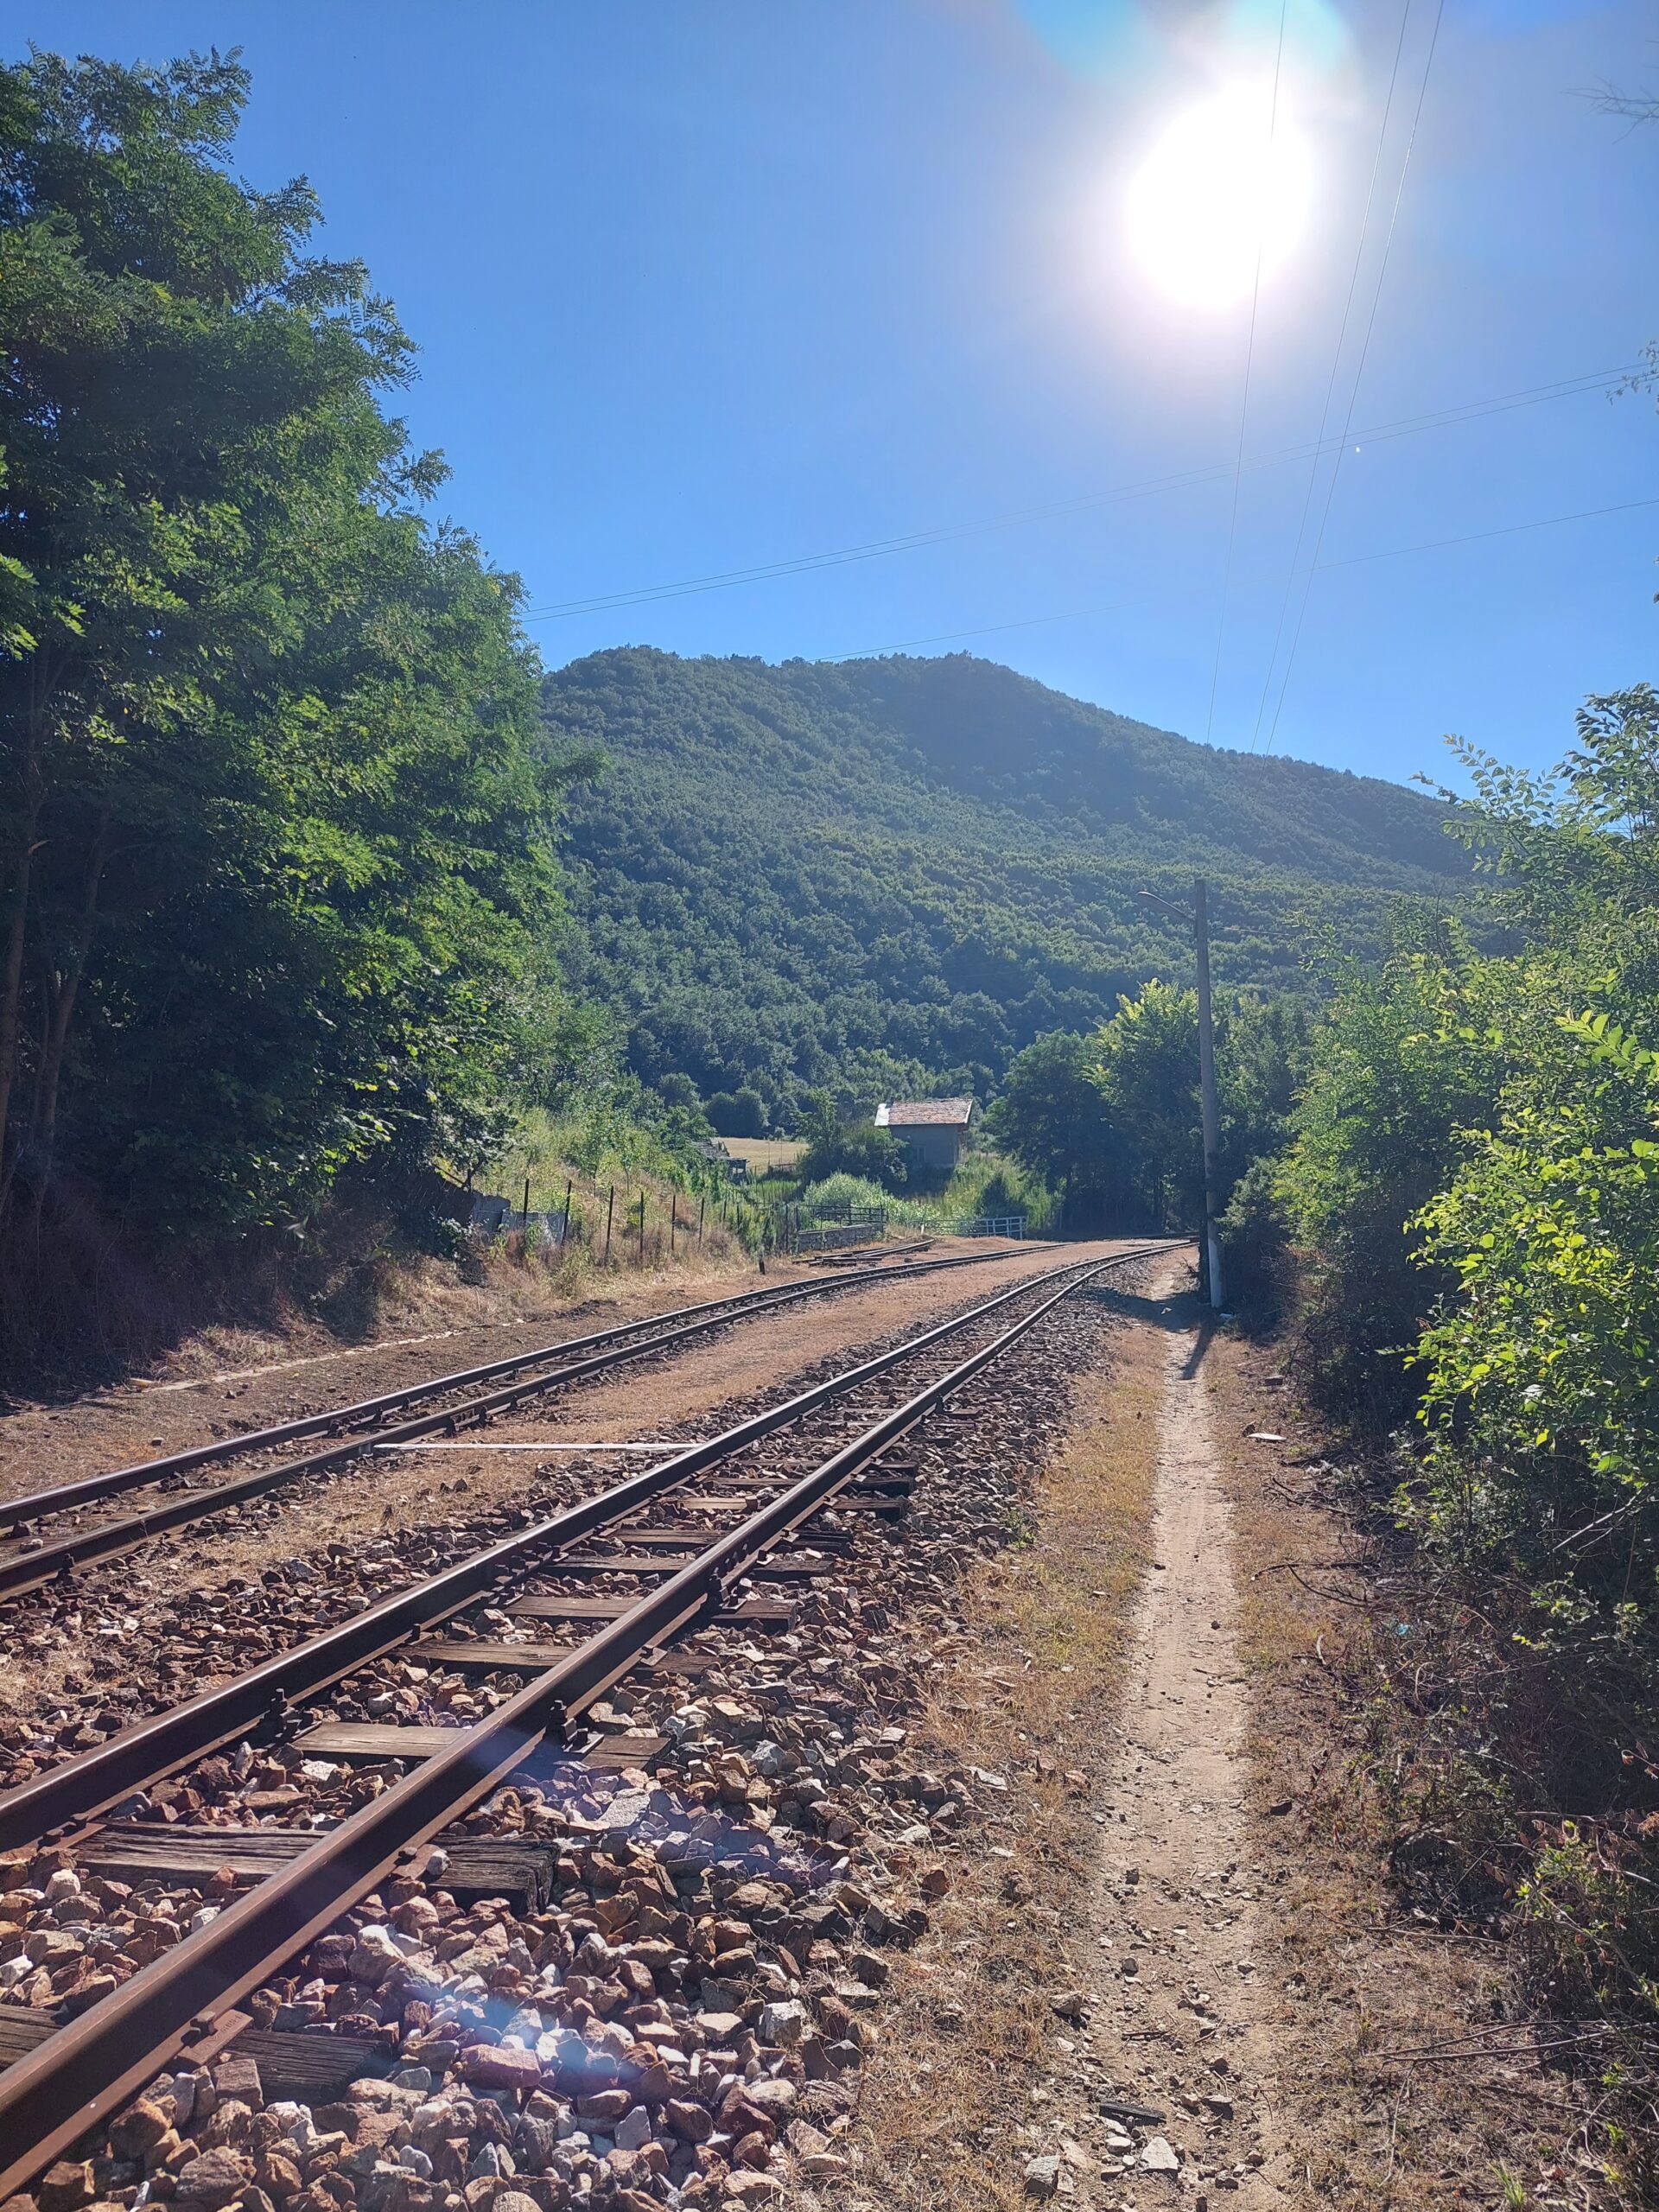
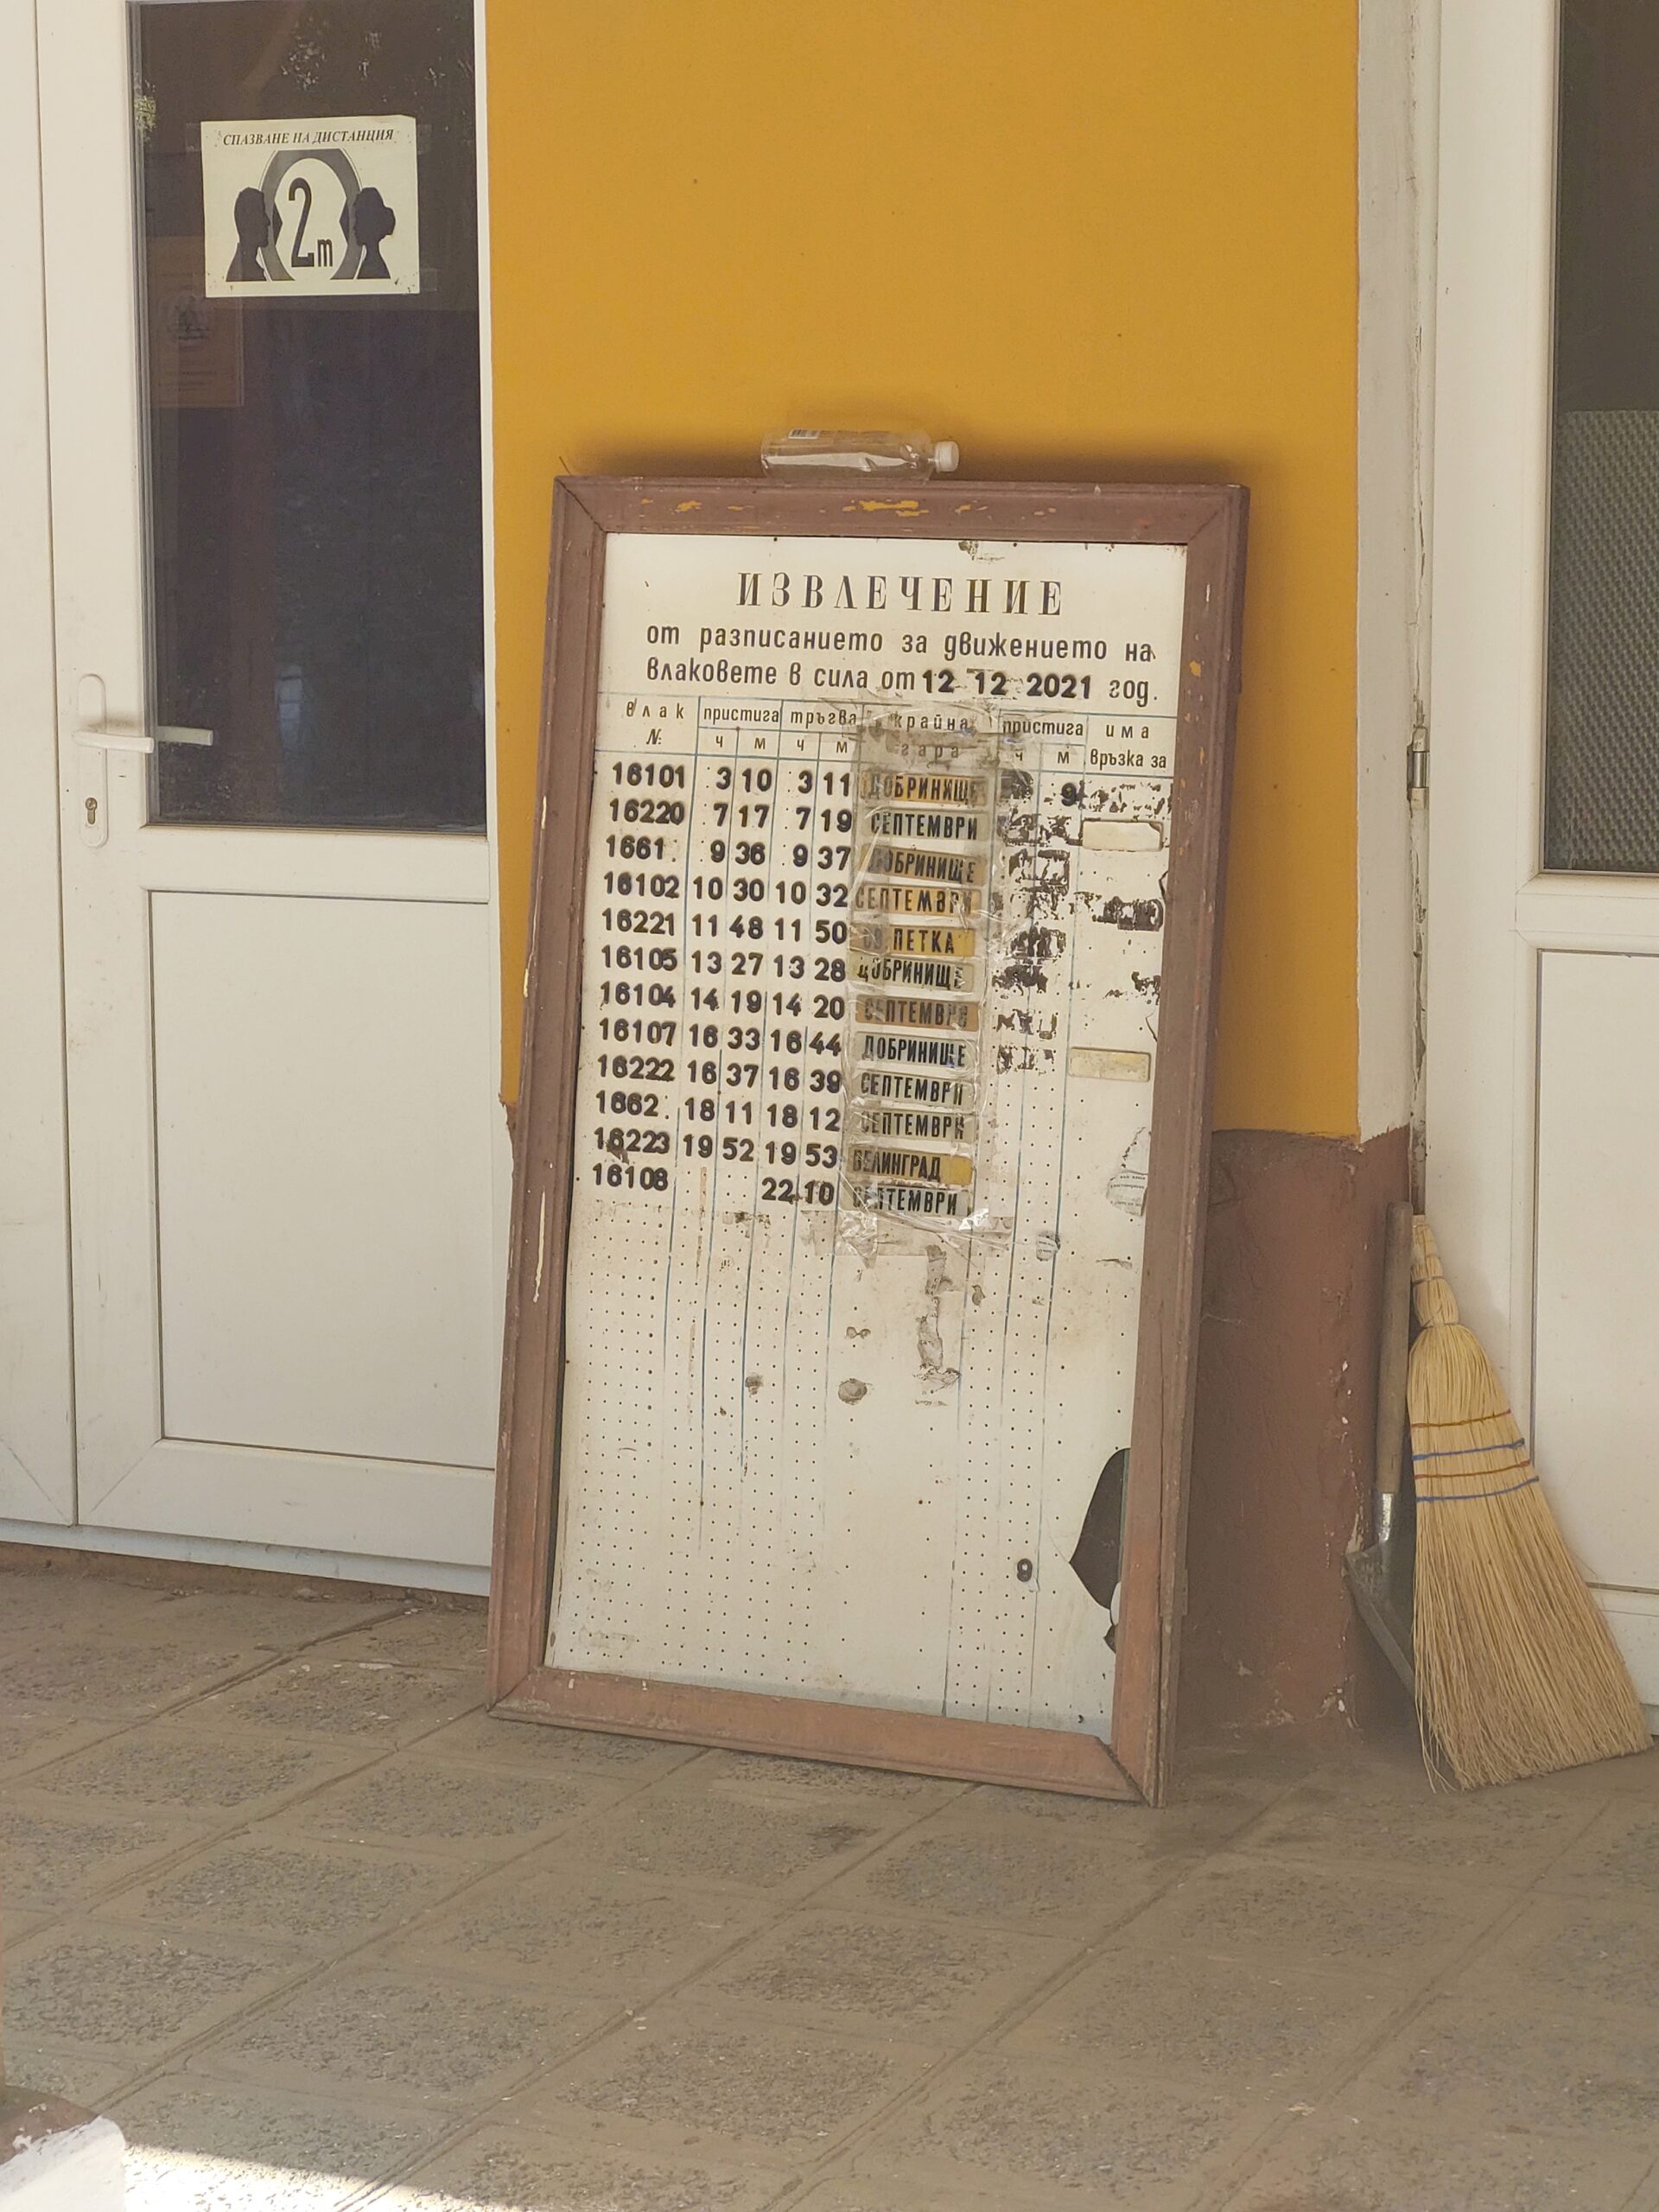
The train station in Dolene is in a top shape and quite beautiful. There are even a few people working in it.
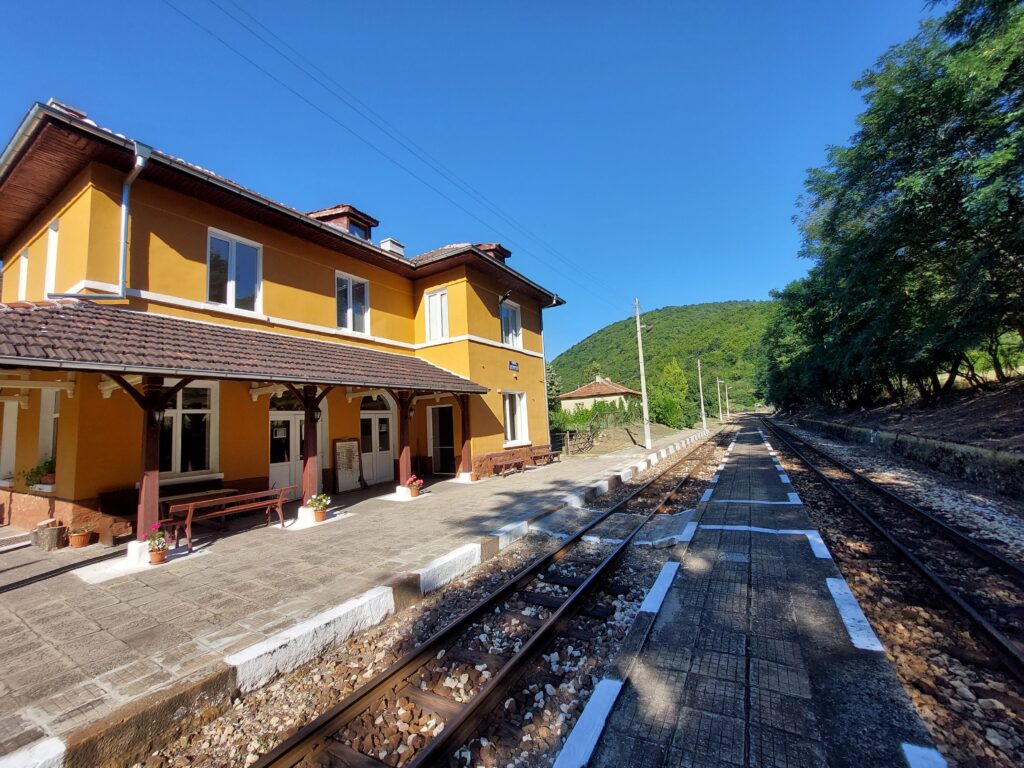
At this point I noticed that I totally underestimated how much water I’d need on my journey. I used up the 1.5l bottle of water, the can of beer and the bottle of coke.
Let’s visit Septemvri
The train to Septemvri was a little delayed, but we got there on time eventually. My connecting train was delayed by 15 minutes, so I took the time to buy some water and to explore the small city.
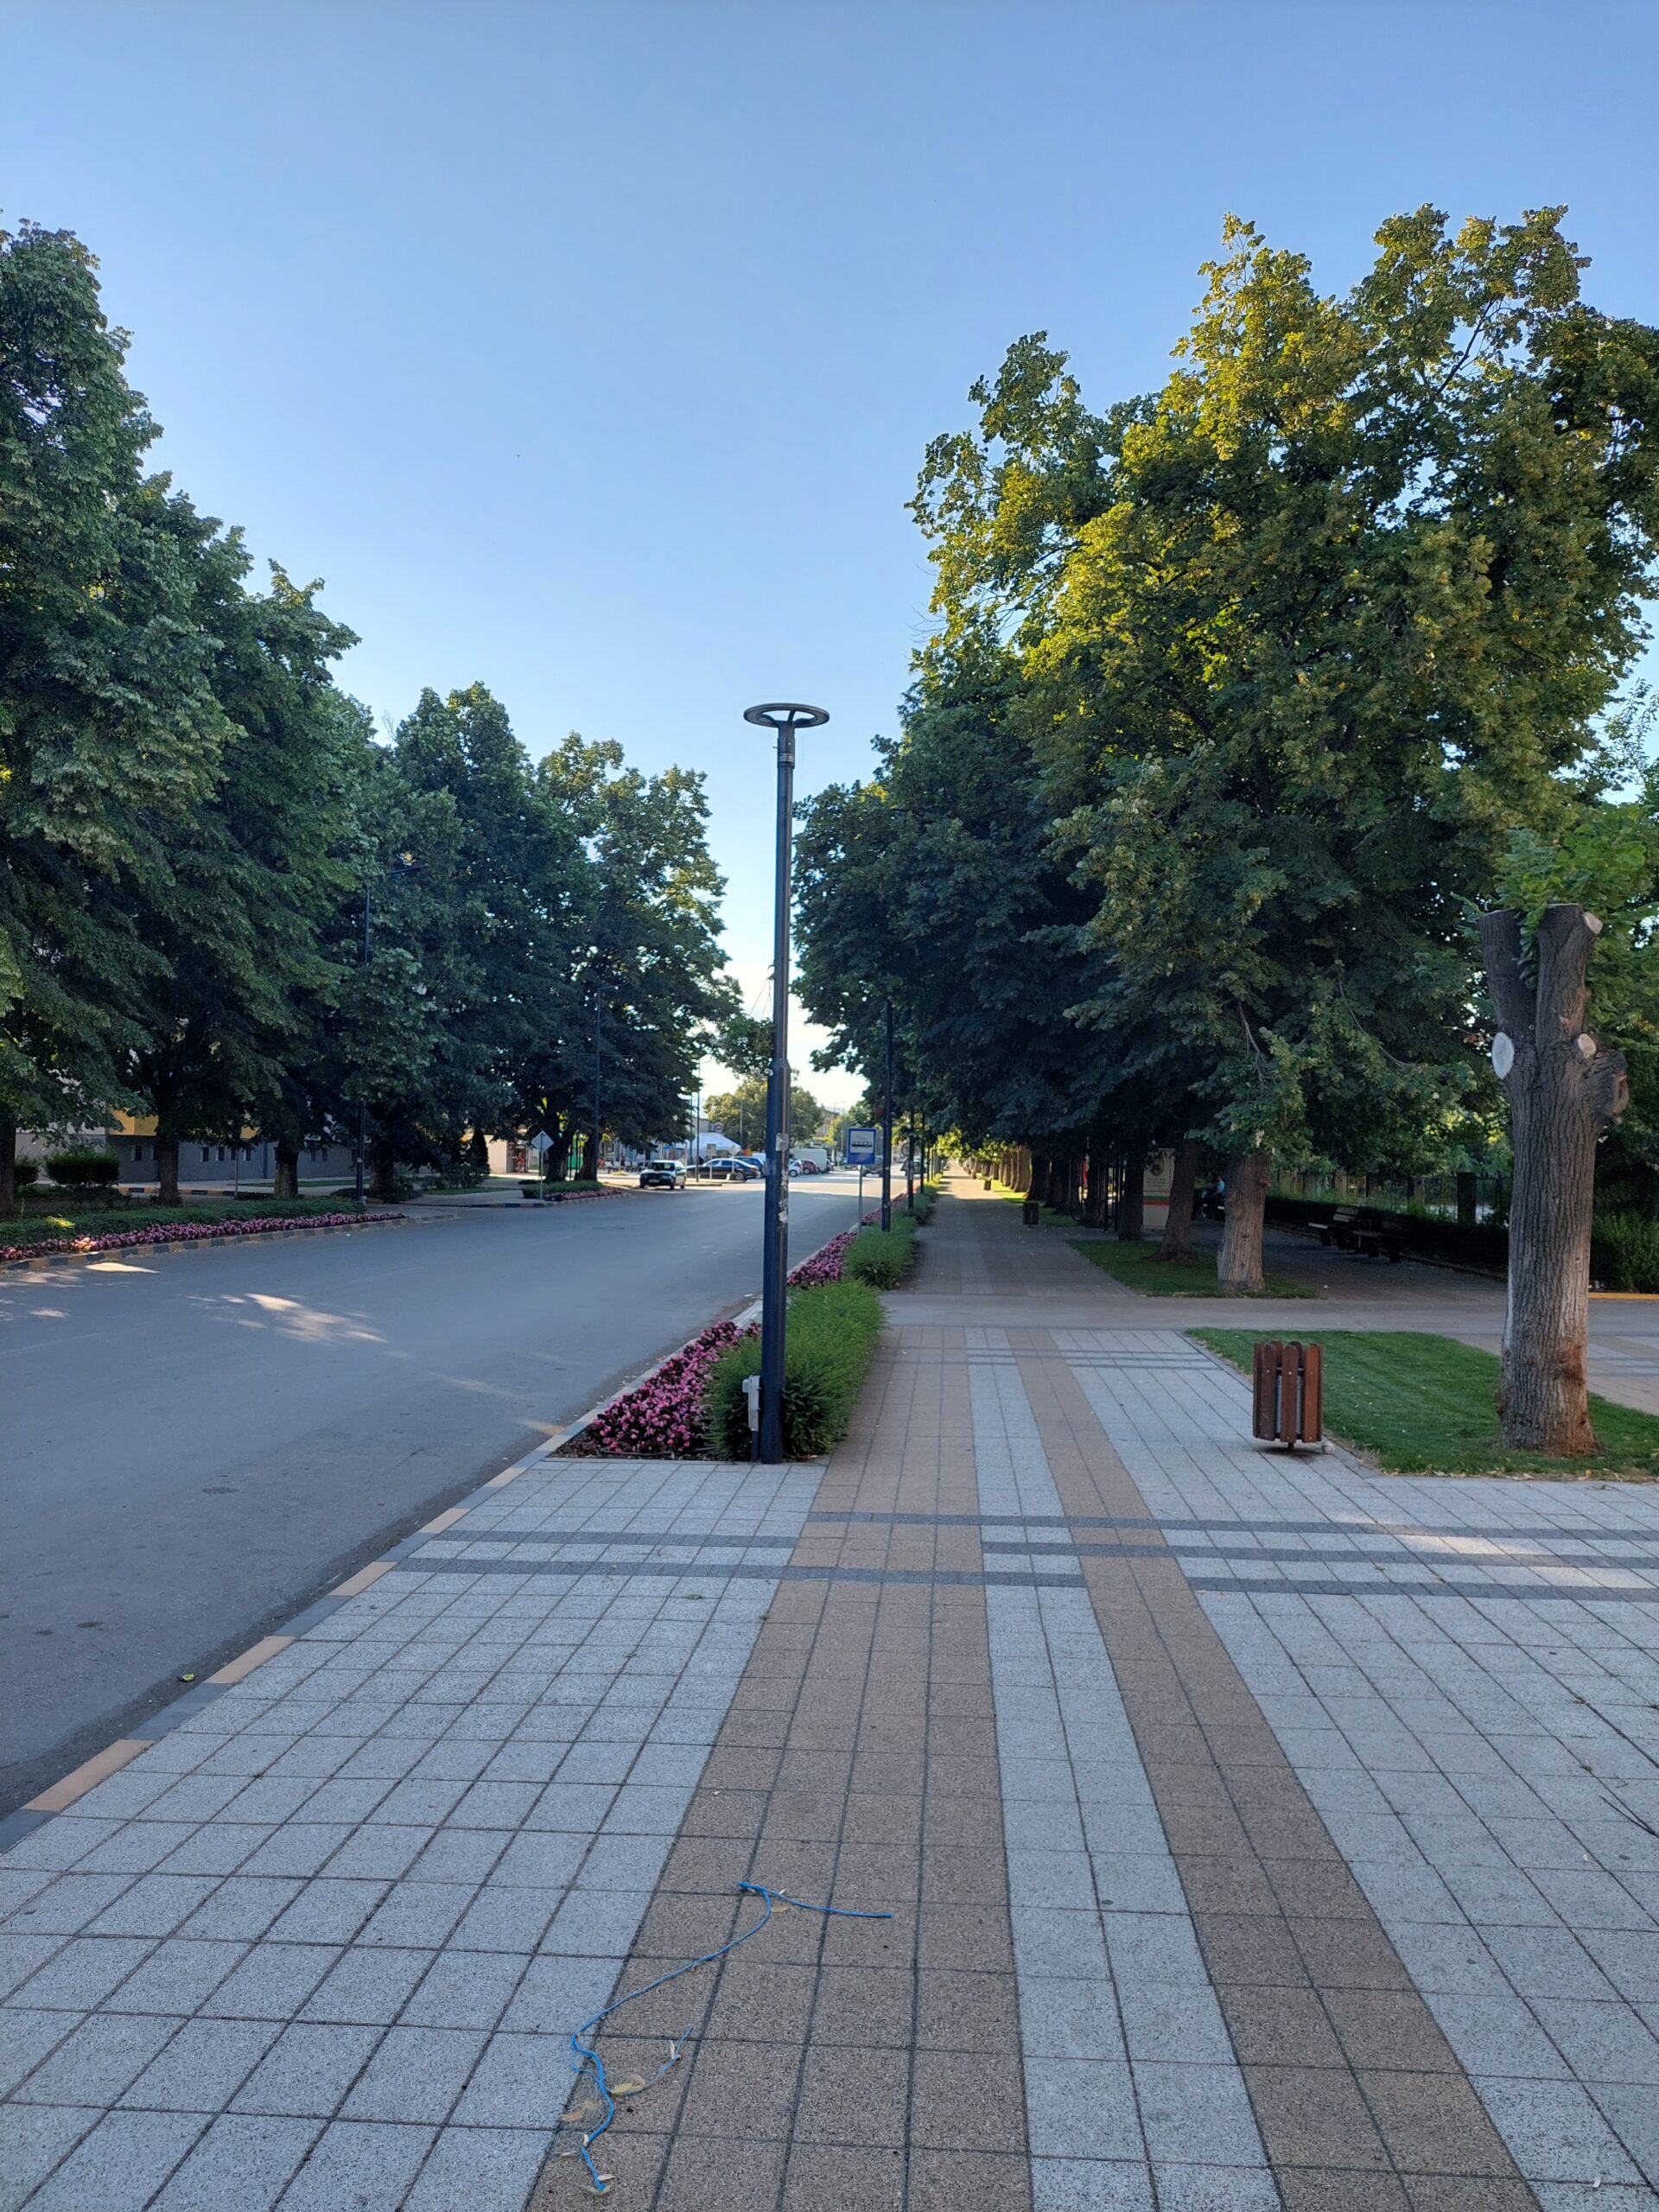
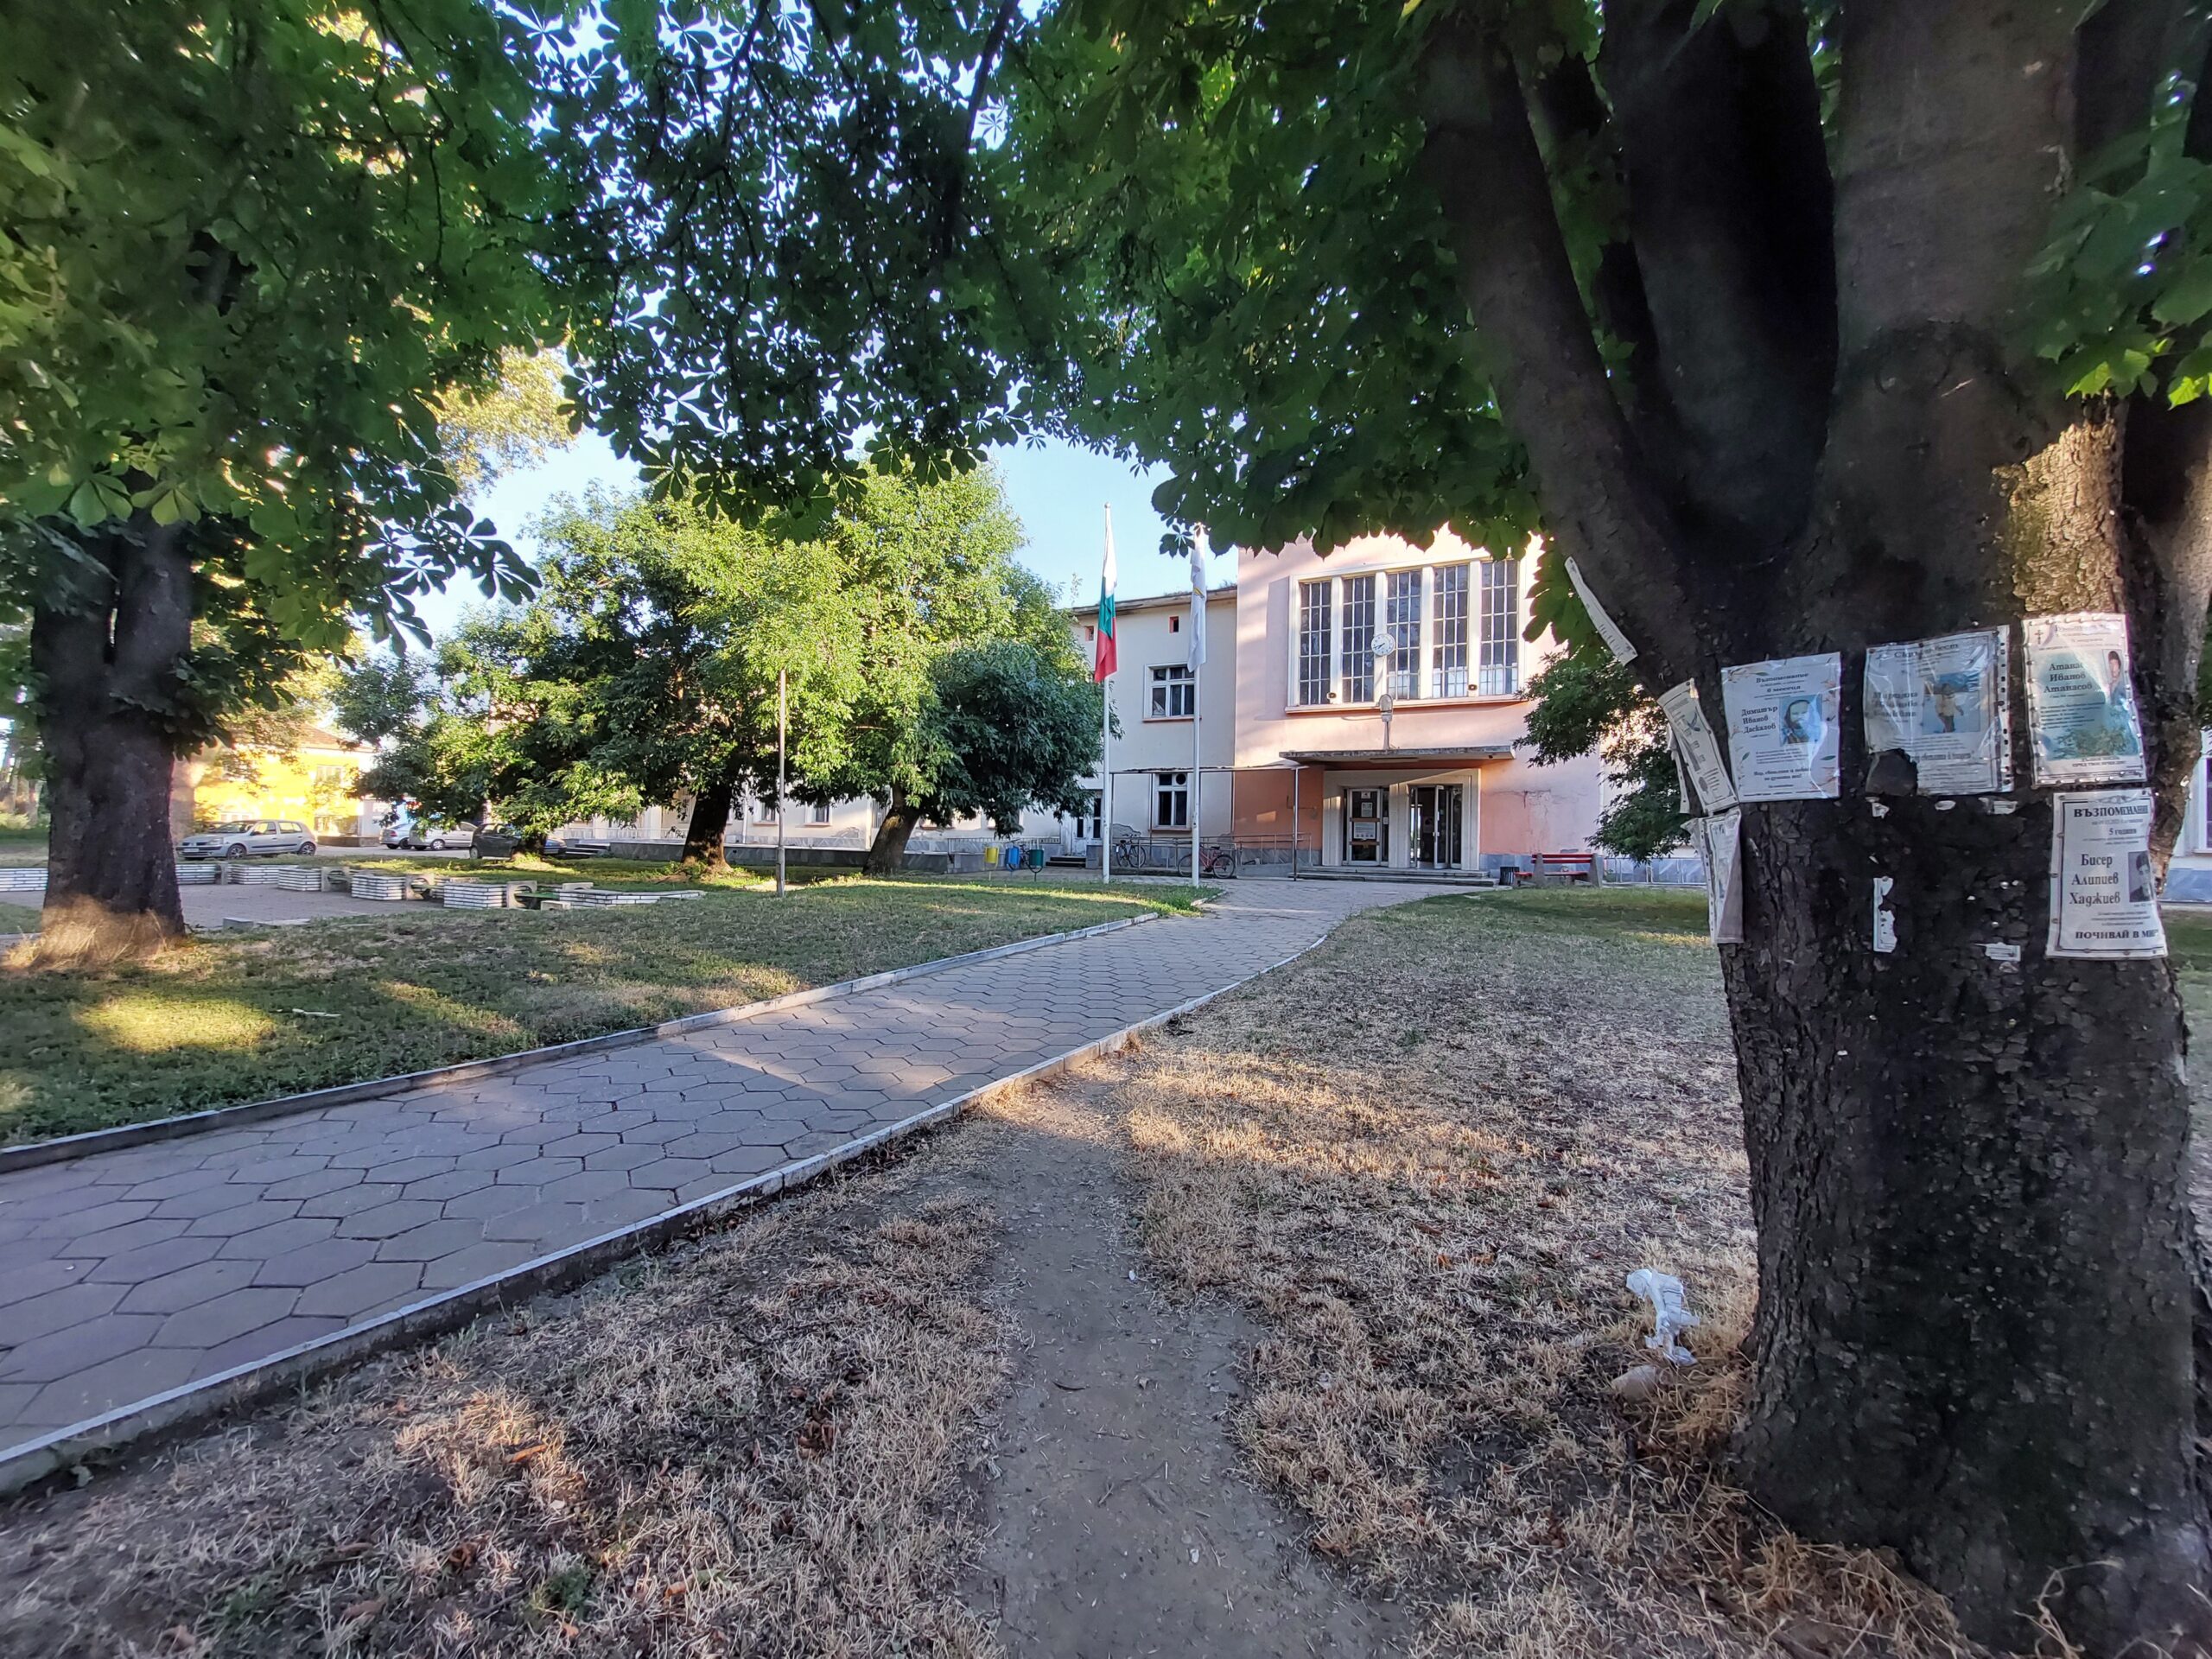

Back at the train station I was quite happy to hop on the train. It takes almost two hours to get from Septemvri to Sofia. Hopefully in the future that will speed up once the new tracks are built.

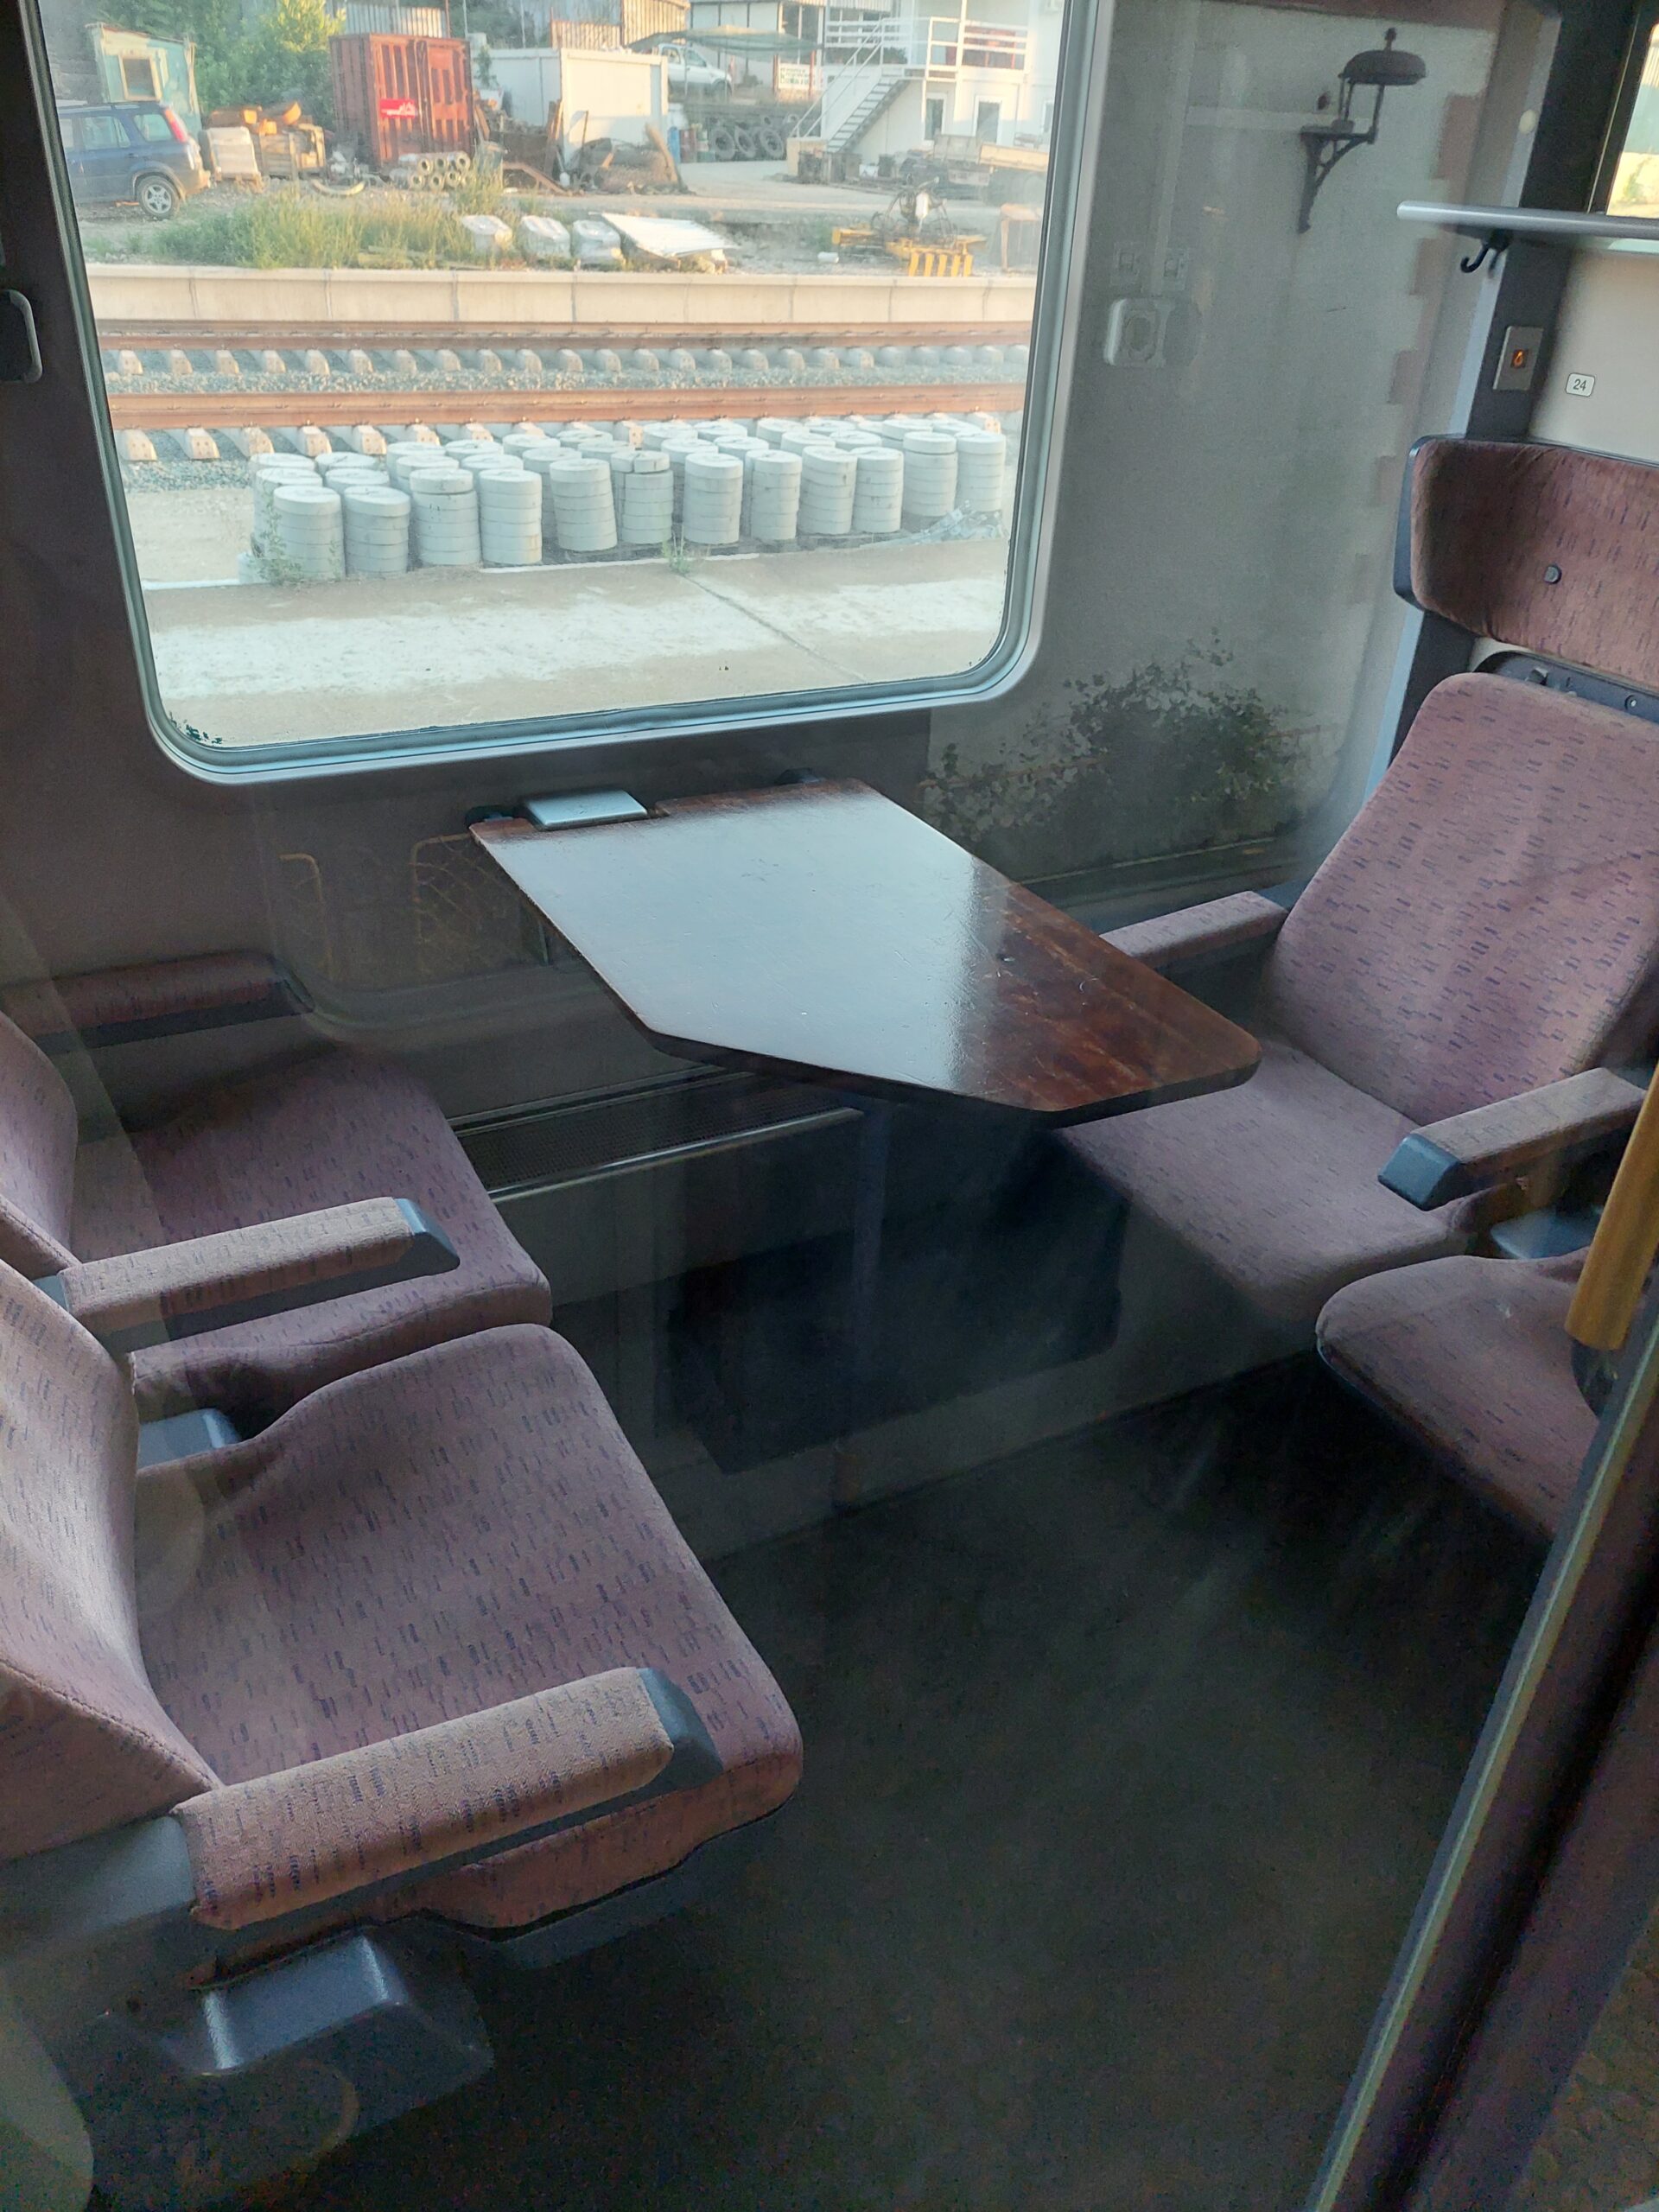
Speaking of building tracks. I already mentioned that the line is full of construction sides and it got one not so small part which only has one track right now. That means you have to wait for the train passing first if you are delayed. That added eventually another 60 minutes to our delay.
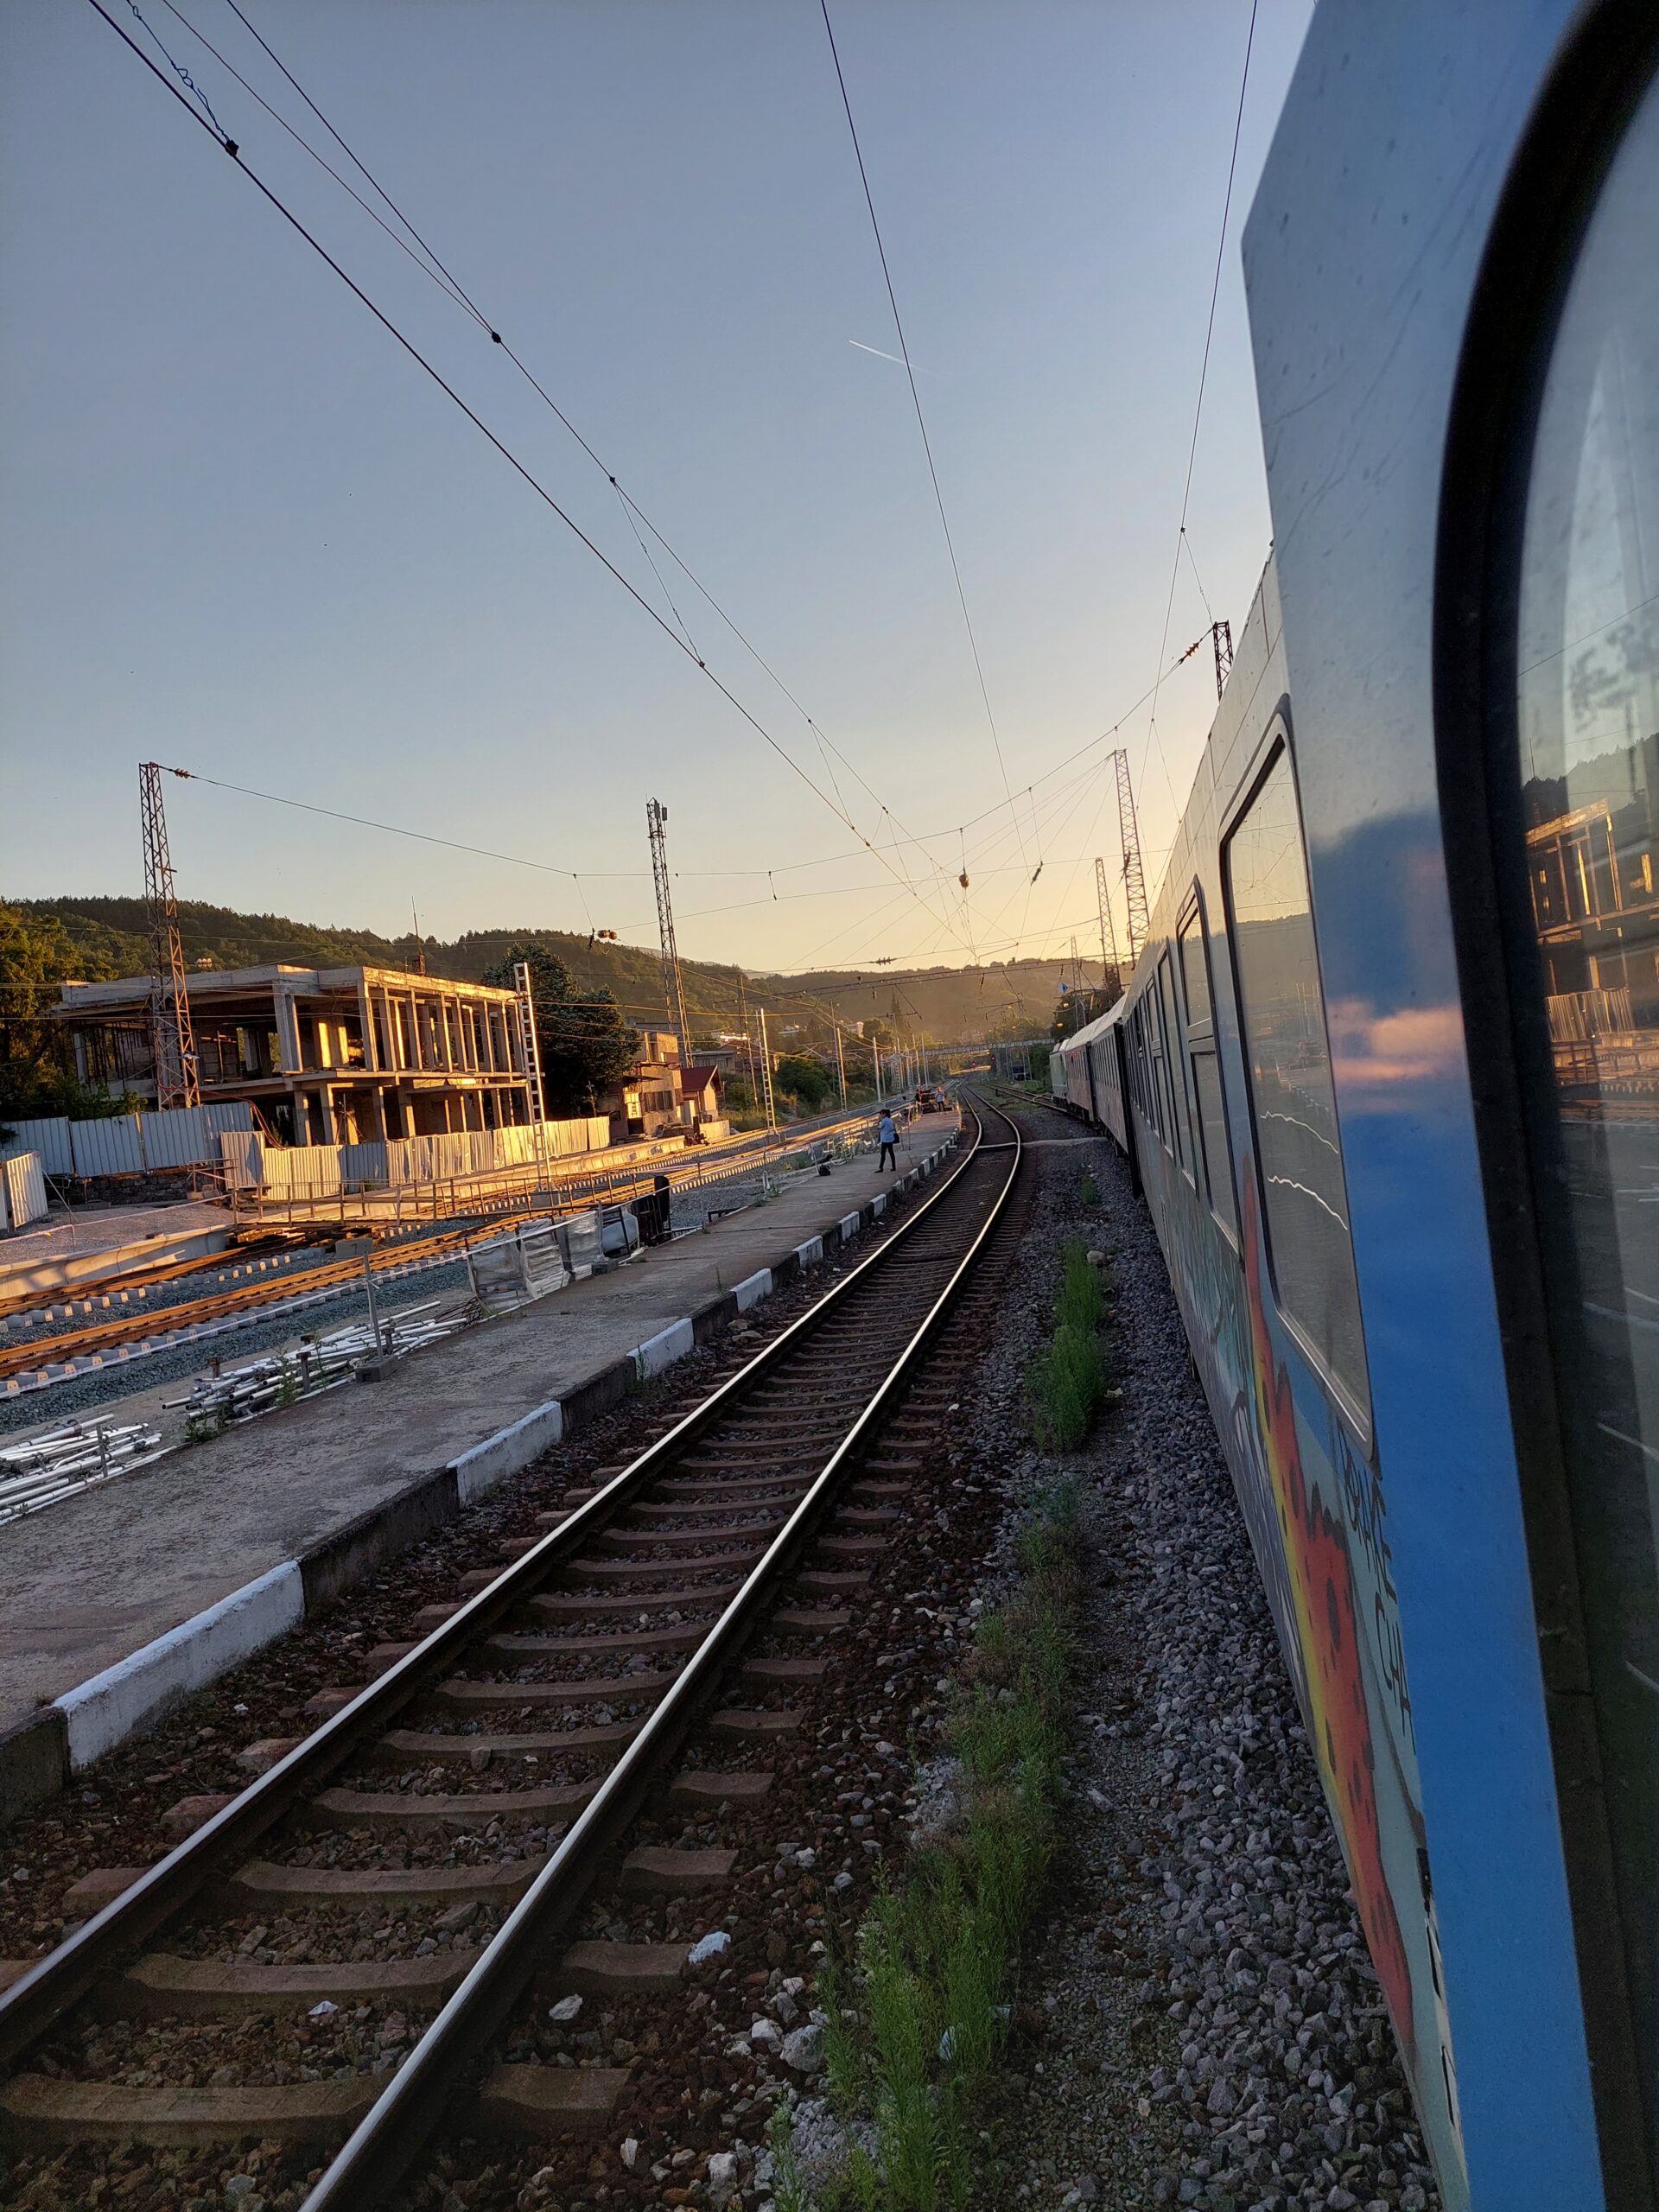
At around 23:00 I arrived back in Podujane. I was hungry and most of the restaurants in my neighborhood were already closed. The only relieve was a 24/7 kiosk where I got a salad and some sandwiches and another non-alcoholic beer.

Resumé
This trip was really cool. It could have been faster if you took the car to get to Dolene due to the atrocious state of the train tracks, but if you like relaxing on a train and to enjoy the view, you should definitely support the Бдж and book a first class ticket.
Next time I will take an earlier connection and trade in my chair for more water. The sun shouldn’t be underestimated and you need a lot of water to sweat in order to stay cool.
I think I’ll repeat the trip in September and write another blog post about.
Until then stay safe and tuned!
]]>/usr/bin/ld: skipping incompatible /usr/lib/gcc/x86_64-linux-gnu/10/libgcc.a when searching for -lgcc
/usr/bin/ld: cannot find -lgcc
/usr/bin/ld: skipping incompatible /usr/lib/gcc/x86_64-linux-gnu/10/libgcc.a when searching for -lgcc
/usr/bin/ld: cannot find -lgcc Install the following:
- gcc-10-multilib
- g++-10-multilib (for C++)

Source: https://stats.labs.apnic.net/ipv6/AS8866
Recently we had to meet a compliance requirement at one of our projects where we needed to make sure that inactive data is no longer readable by our application. This isn’t just to make sure that our application prohibits the user access to that data, but also to make sure that any misconfiguration or a hacking attempt would never leak any data.
The idea: The Data Diode. A diode is an electronic component which only allows to let current flow in one direction.
At Amazon Web Services (AWS) we store data in Amazon S3 buckets. These buckets are basically virtual disks which are fast, reliable and allow a high level of flexibility.
Ideally your application uses AWS access keys which are restricted to a certain set of services and actions permitted at those services. For instance, to have read and write access to your hot data storage at Amazon S3.
You can also add ACL rules which allows to only write into a given bucket and prohibit any read or listing action. You can even allow other AWS accounts to write in your bucket.
We wrote a script which takes records older than 90 days, erases all data except data required to run some anonymized statistics and export them to our write-only Amazon S3 bucket.
That way we make sure that we never leak old data by accident or when we should get hacked. An attacker can only access the most recent data but never the old one. Not even when they got access to the AWS credentials.
One thing we considered is to enable versioning. In case an attacker was successful or our application would go rogue due to a bug we can restore any overwritten data.
I also recommend to use a separate AWS account to host your archive. That way you can make sure that not even an inside job has access to that data.
Are you interesting in implementing this in your company or project? Feel free to contact me!
]]>Scope of this blog post is to have an easy understandable how to guide to quickly setup a WireGuard VPN with dualstack support through NAT.
Less blah blah, more commands and configs.
Requirements:
- Debian 11 (Linux 5.10+ kernel)
- At least either a public IPv4 or IPv6 address
- Around 30 minutes of your time and somewhat useful Linux skills
Step 1: Setting up the server side
Install wireguard-tools by using apt like this:
apt install wireguard-toolsFor each device you’ll need a private public keypair.
Use the following command to generate both private and public keys:
wg genkey | tee privatekey | wg pubkey > publickeyThat way you have a fresh pair of it in your current directory.
In case you are in an IDGAF about security mode, take these values:
- Private:
qKTH2AX0wCTYC315UOdzf1eUs6+1F1UI7yBGA21hEUc= - Public:
LQA8GIRJAjeN0NweVSSnYxmV5DwP74JpDyu/jT1vCSY=
I highly effing recommend you dicing your own keys, though.
Moving on to the WireGuard config itself. We are going to create a config file and let systemd manage it as a service through the [email protected].
By this point you’ll need a private IPv4 subnet and a ULA IPv6 prefix.
For the sake of simplicity, I chose both for you:
- IPv4:
100.123.42.0/24 - IPv6:
fd4e:80e:2adc::/64
Create the following file as /etc/wireguard/wg0.conf:
[Interface]
Address = 100.123.42.1/24
Address = fd4e:80e:2adc::1/64
PrivateKey = qKTH2AX0wCTYC315UOdzf1eUs6+1F1UI7yBGA21hEUc=
ListenPort = 51280

PostUp = iptables -t nat -I POSTROUTING -s 100.123.42.0/24 -j MASQUERADE
PreDown = iptables -t nat -D POSTROUTING -s 100.123.42.0/24 -j MASQUERADE

PostUp = ip6tables -t nat -I POSTROUTING -s fd4e:80e:2adc::/64 -j MASQUERADE
PreDown = ip6tables -t nat -D POSTROUTING -s fd4e:80e:2adc::/64 -j MASQUERADE
Next up you’ll need some sysctl tuning to allow your Linux server to act as a router.
Please create the following file as /etc/sysctl.d/50-forwarding.conf:
net.ipv4.conf.all.forwarding = 1
net.ipv4.conf.default.forwarding = 1
net.ipv6.conf.all.forwarding = 1
net.ipv6.conf.default.forwarding = 1
net.ipv4.conf.all.rp_filter = 0
net.ipv4.conf.default.rp_filter = 0
Apply it by using this command: sysctl -p /etc/sysctl.d/50-forwarding.conf
Please make sure your iptables and ip6tables rules are in yolo mode which means the default policy for FORWARD is ACCEPT. That’s usually the default configuration anyway.
Enable and start the service: systemctl enable --now wg-quick@wg0
Step 2: Setup a client
Prerequisites for each client:
- Repeat the private and public key dance from above.
- The public key goes into the
[Peer]section of your server config. - The private key goes into the
[Interface]section of your client config.
- The public key goes into the
- Allocate an IP address per address family.
- The address with its prefix length goes in the
AllowedIPsin your[Peer]section of your server config. - The address with its prefix length goes in the
Addressin your[Interface]section of your client config.
- The address with its prefix length goes in the
Make sure you pick a unique key pair and IP addresses for each client.
Example values:
- IPv4 address:
10.123.42.2/32 - IPv6 address:
fd4e:80e:2adc::2/128 - Private key:
gKqGRcQOCVhVqmN5e0QYkj7K7lhNStYig8EntNjDDEM= - Public key:
8Yku08ytK+3OGVi8RC2K5opM4PqF84VPZmW4xFH52CY=
Now go back to the /etc/wireguard/wg0.conf from step one and add the following lines:
[Peer]
PublicKey = 8Yku08ytK+3OGVi8RC2K5opM4PqF84VPZmW4xFH52CY=
AllowedIPs = 10.123.42.2/32, fd4e:80e:2adc::2/128
Restart the service: systemctl restart wg-quick@wg0
Get the hostname or the public IPv6 or public IPv4 address of your server. We need that now.
Now assemble the client config:
[Interface]
PrivateKey = gKqGRcQOCVhVqmN5e0QYkj7K7lhNStYig8EntNjDDEM=
Address = 100.123.42.2/32, fd4e:80e:2adc::2/128
MTU = 1280

[Peer]
PublicKey = LQA8GIRJAjeN0NweVSSnYxmV5DwP74JpDyu/jT1vCSY=
AllowedIPs = 0.0.0.0/0, ::/0
Endpoint = wg0.example.net:51280
#Endpoint = [2001:db8::1]:51280
#Endpoint = 192.0.2.1:51280
Make sure to use the server’s public key in PublicKey in the [Peer] section and the correct address (again: the public one of your server) in Endpoint in the [Peer] section as well.
You can use the wireguard-tools and wg-quick on your Linux client as well. Just adapt the steps from step one without the sysctl things.
You can encode your config as a QR code and scan it in the official WireGuard Android app as well.
Good to know
- On the client side: Instead of
0.0.0.0/0and::/0you can use whatever and as many prefixes as you like and only route a few prefixes through the VPN. - On the server side: If you have prefixes routed to your WireGuard server, you can skip the NAT (iptables/ip6tables) configuration.
- You can change the MTU, 1280 is recommended in unpredictable environments. To calculate it yourself: MTU = Outside MTU – 80. So on a 1500 Internet uplink you can use 1420 as MTU for the WireGuard interface. Consult the configuration or/and documentation your Internet connection to find the right value.
- Make sure to properly safe guard your server using a firewall only allowing outbound connections. Theoretically your clients are exposed under certain circumstances.
- Check out
wg(8)for more information. It can do more things than outlined here.
 ]]>
]]> ]]>
]]> ]]>
]]>create table my_new_table like my_old_table; insert into my_new_table select * from my_old_table;
An easy way to make a quick backup.
]]>